As it sometimes goes with making art, the first attempt sometimes doesn’t work. An earlier version of this sculpture was made in 2022, and in 2023 I attempted to make a tintype of it with the help of Eric Baillies, who was showing me wet collodion techniques at the time. I was never really satisfied with the sculpture and the tintype never quite came together. The sculpture was set aside in a corner of my studio and the tintypes from that session were never shared. Time was needed to rethink the sculpture and practice my skills making tintypes. I approached the sculpture a little differently in 2025 when I was asked to do the branding and illustrations for the 2025 Dark Days Bright Nights music festival in Richmond, VA. After a new round of sketching, I began working on the sculpture again, this time with better results. I hope you enjoy seeing how the tintype Crowned Diprosopus in Ascension was made.
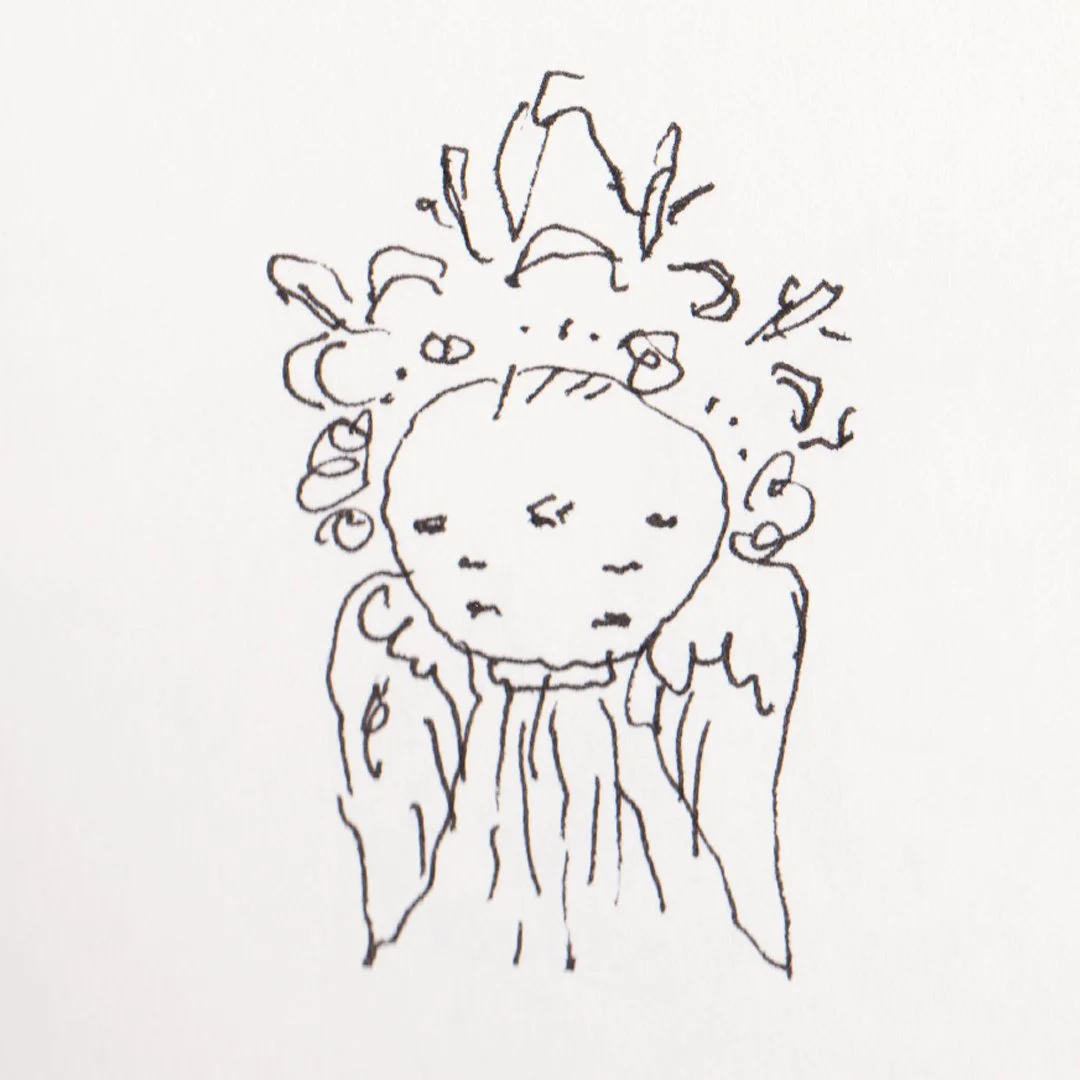
In 2025, I began sketching out some new ideas for the 2022 sculpture, keeping the head and neck unchanged but imagining a new approach to them. This is the thumbnail sketch that I developed into the finished tintype. I like to work loose and minimal at this stage, and let the sculpture develop on its own.

This sculpture began in 2022, when I first began sculpting the neck veins. After much thought on how to do this, I decided on shaping and soldering brass in order to give the veins the strength and graceful arcs I needed.
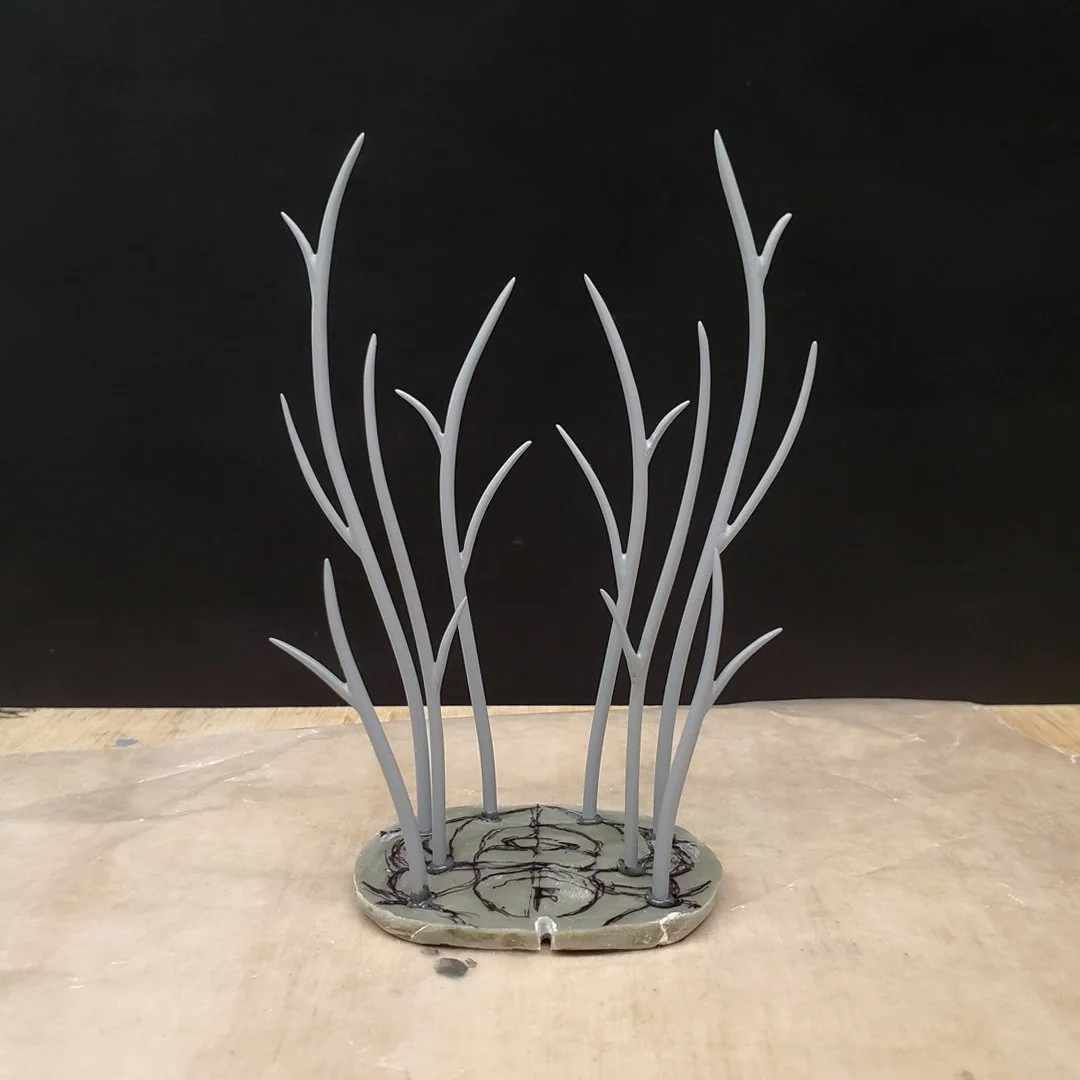
Once all the veins were fabricated and primed, I glued them to a thin plate of epoxy clay and began sculpting the neck anatomy.
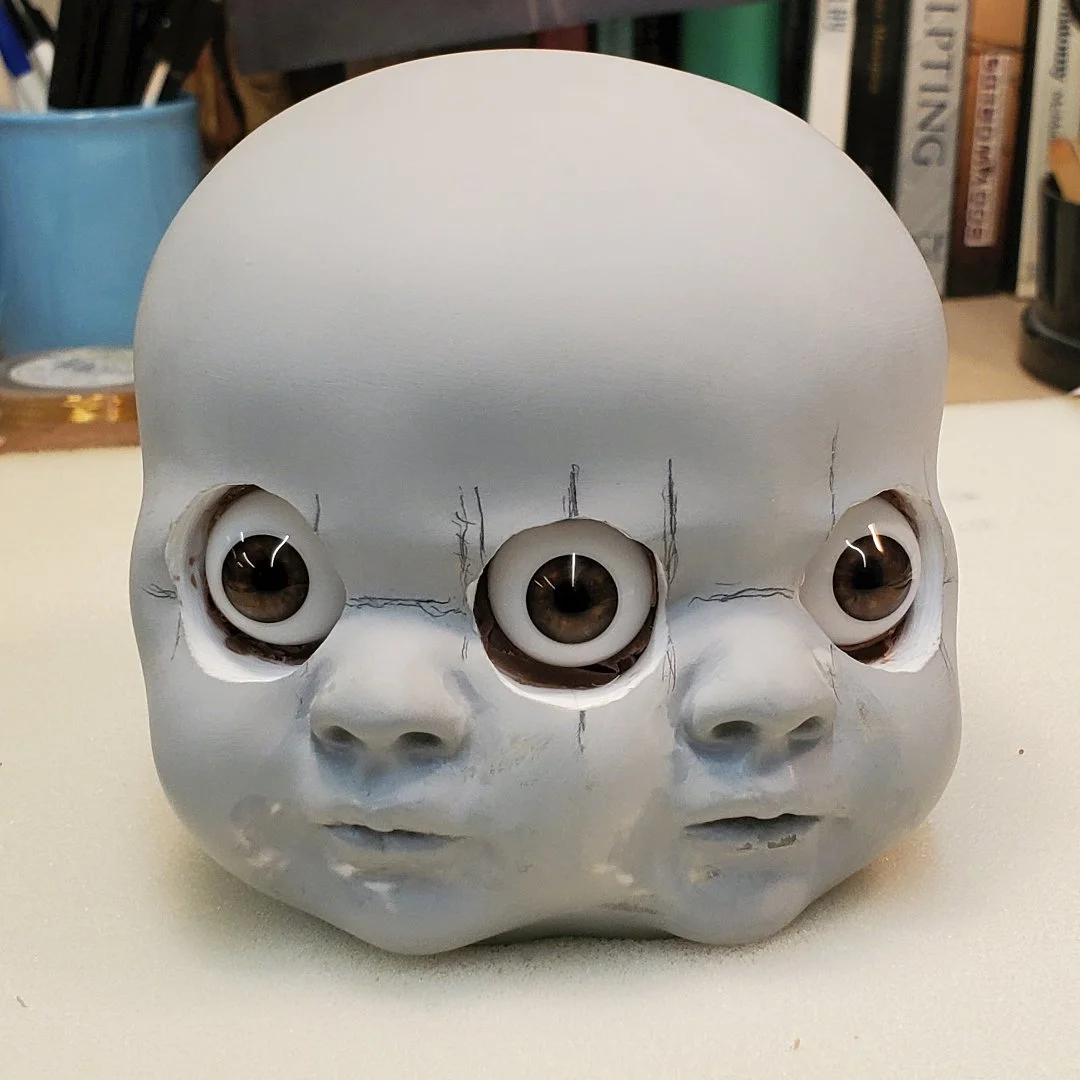
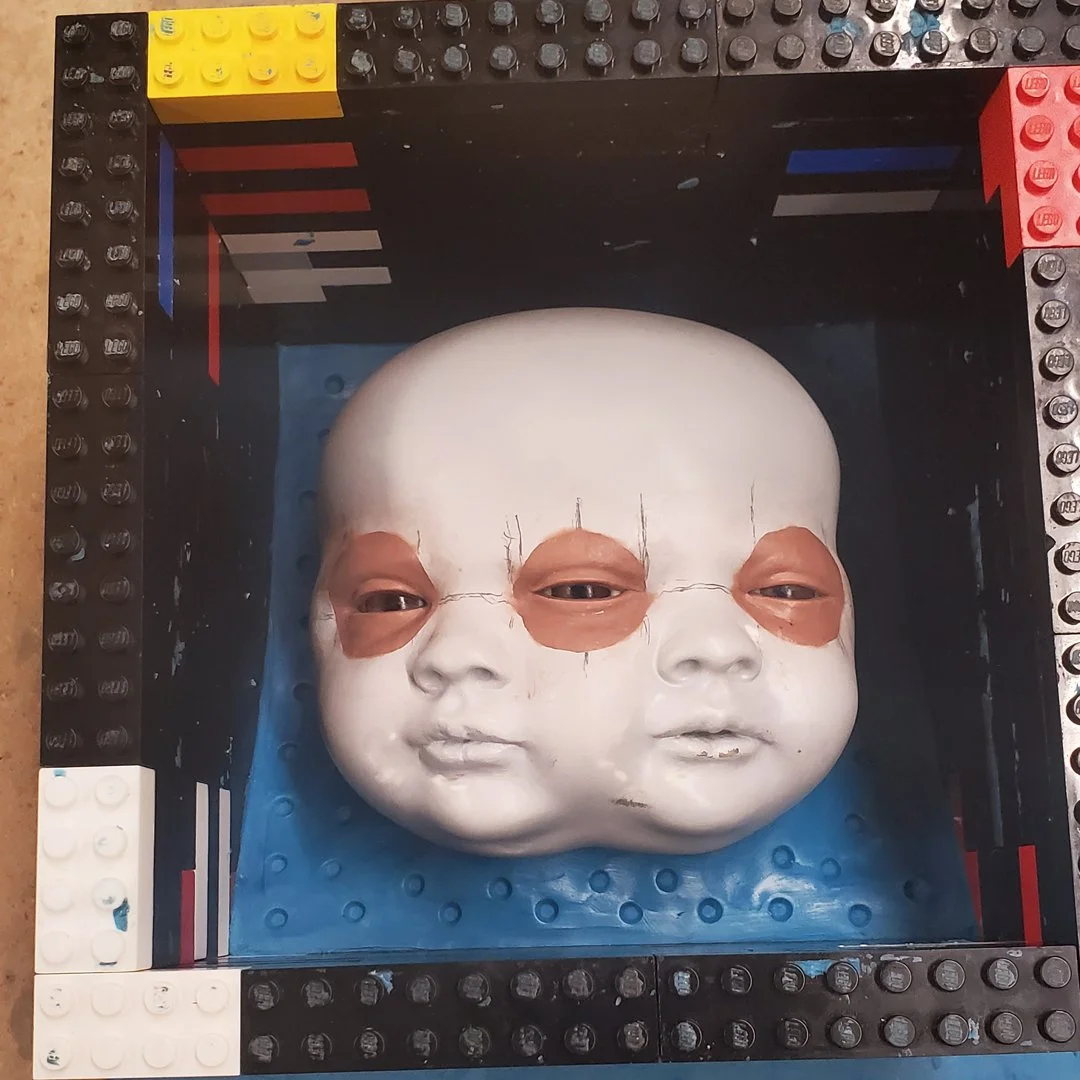
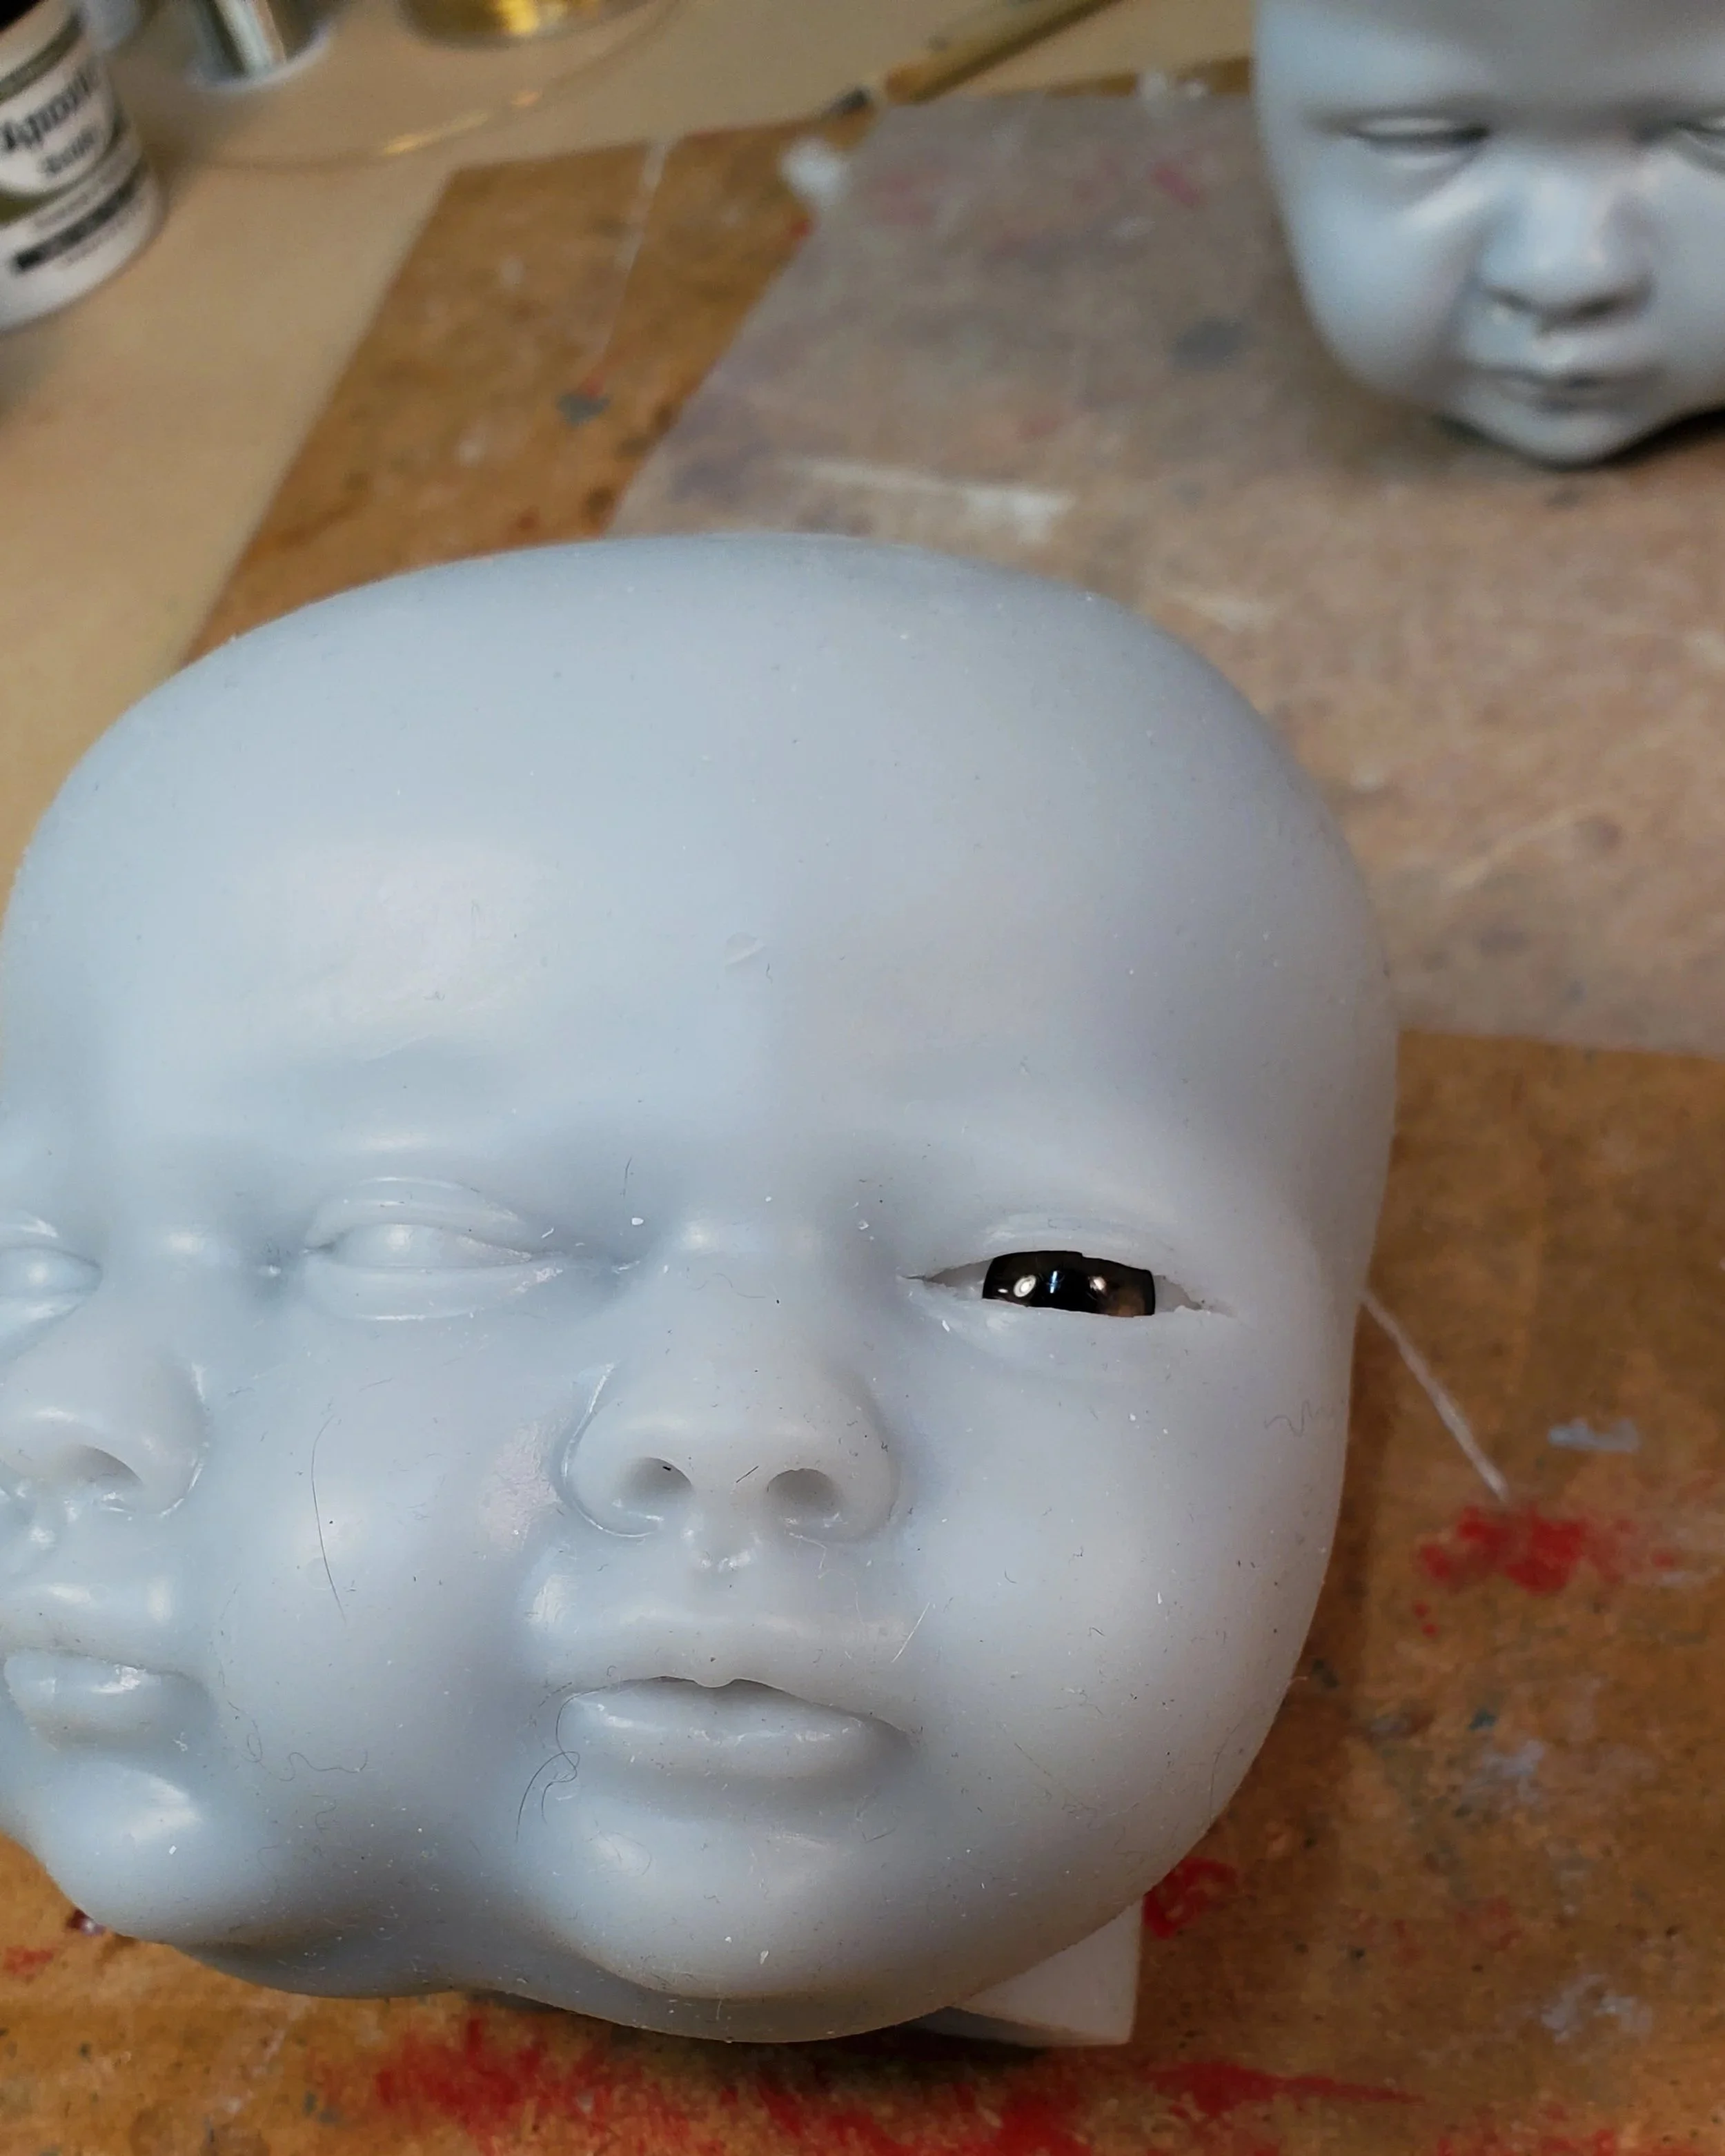
The head was fabricated out of joined and resculpted resin pours from molds from my 2013-2015 sculpture, Ossis Fateor Memoria. After sculpting with epoxy clay was finished, the head was primed and sanded smooth repeatedly. A magnetic pocket in the neck accepted the plate with the neck anatomy and veins. Although I am making my own eyes now, at this time I purchased acrylic doll eyes for the sculpture. Holes were drilled into the resin sculpt and the eyes carefully set into position.

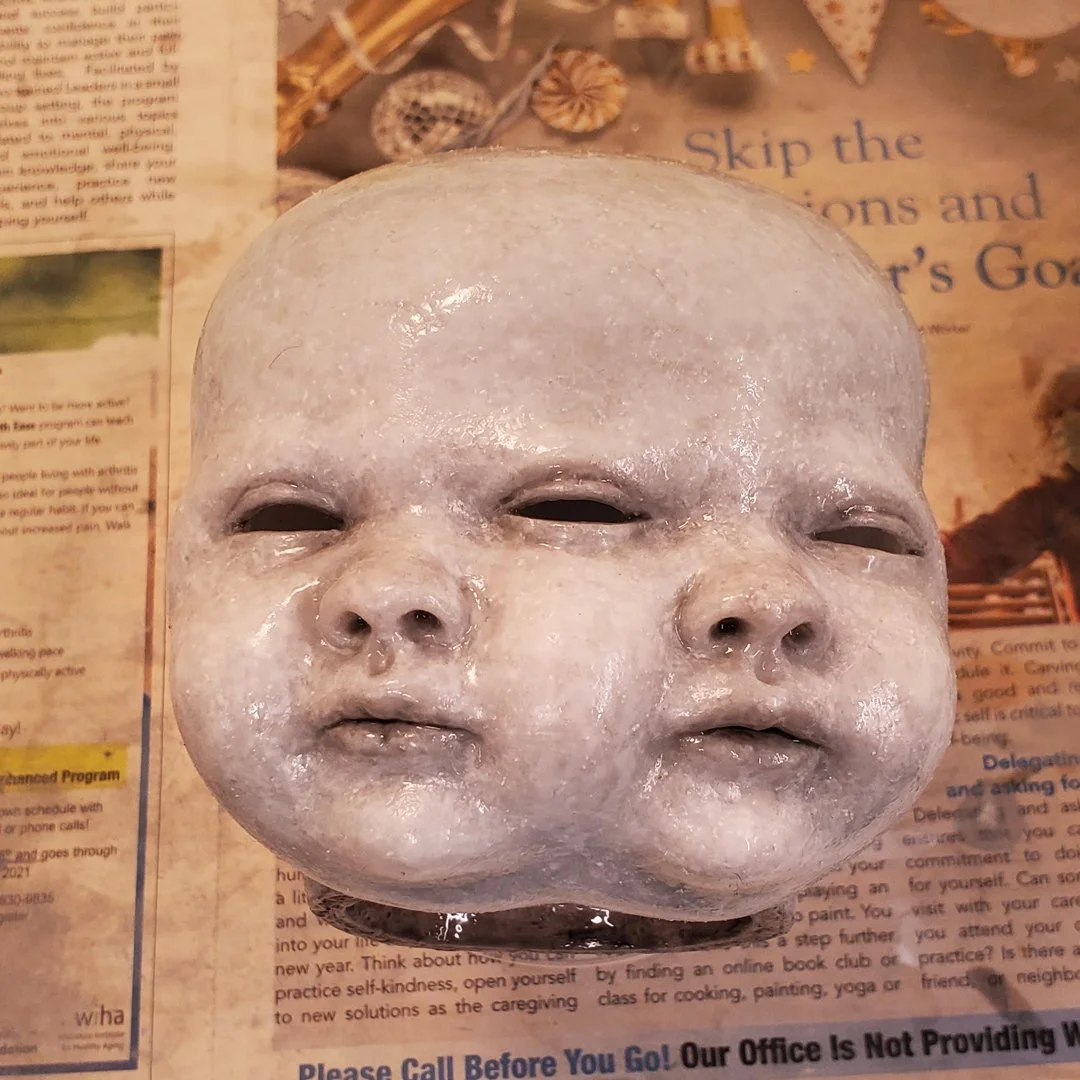
Clay was used to sculpt the eyelids and surrounding features.
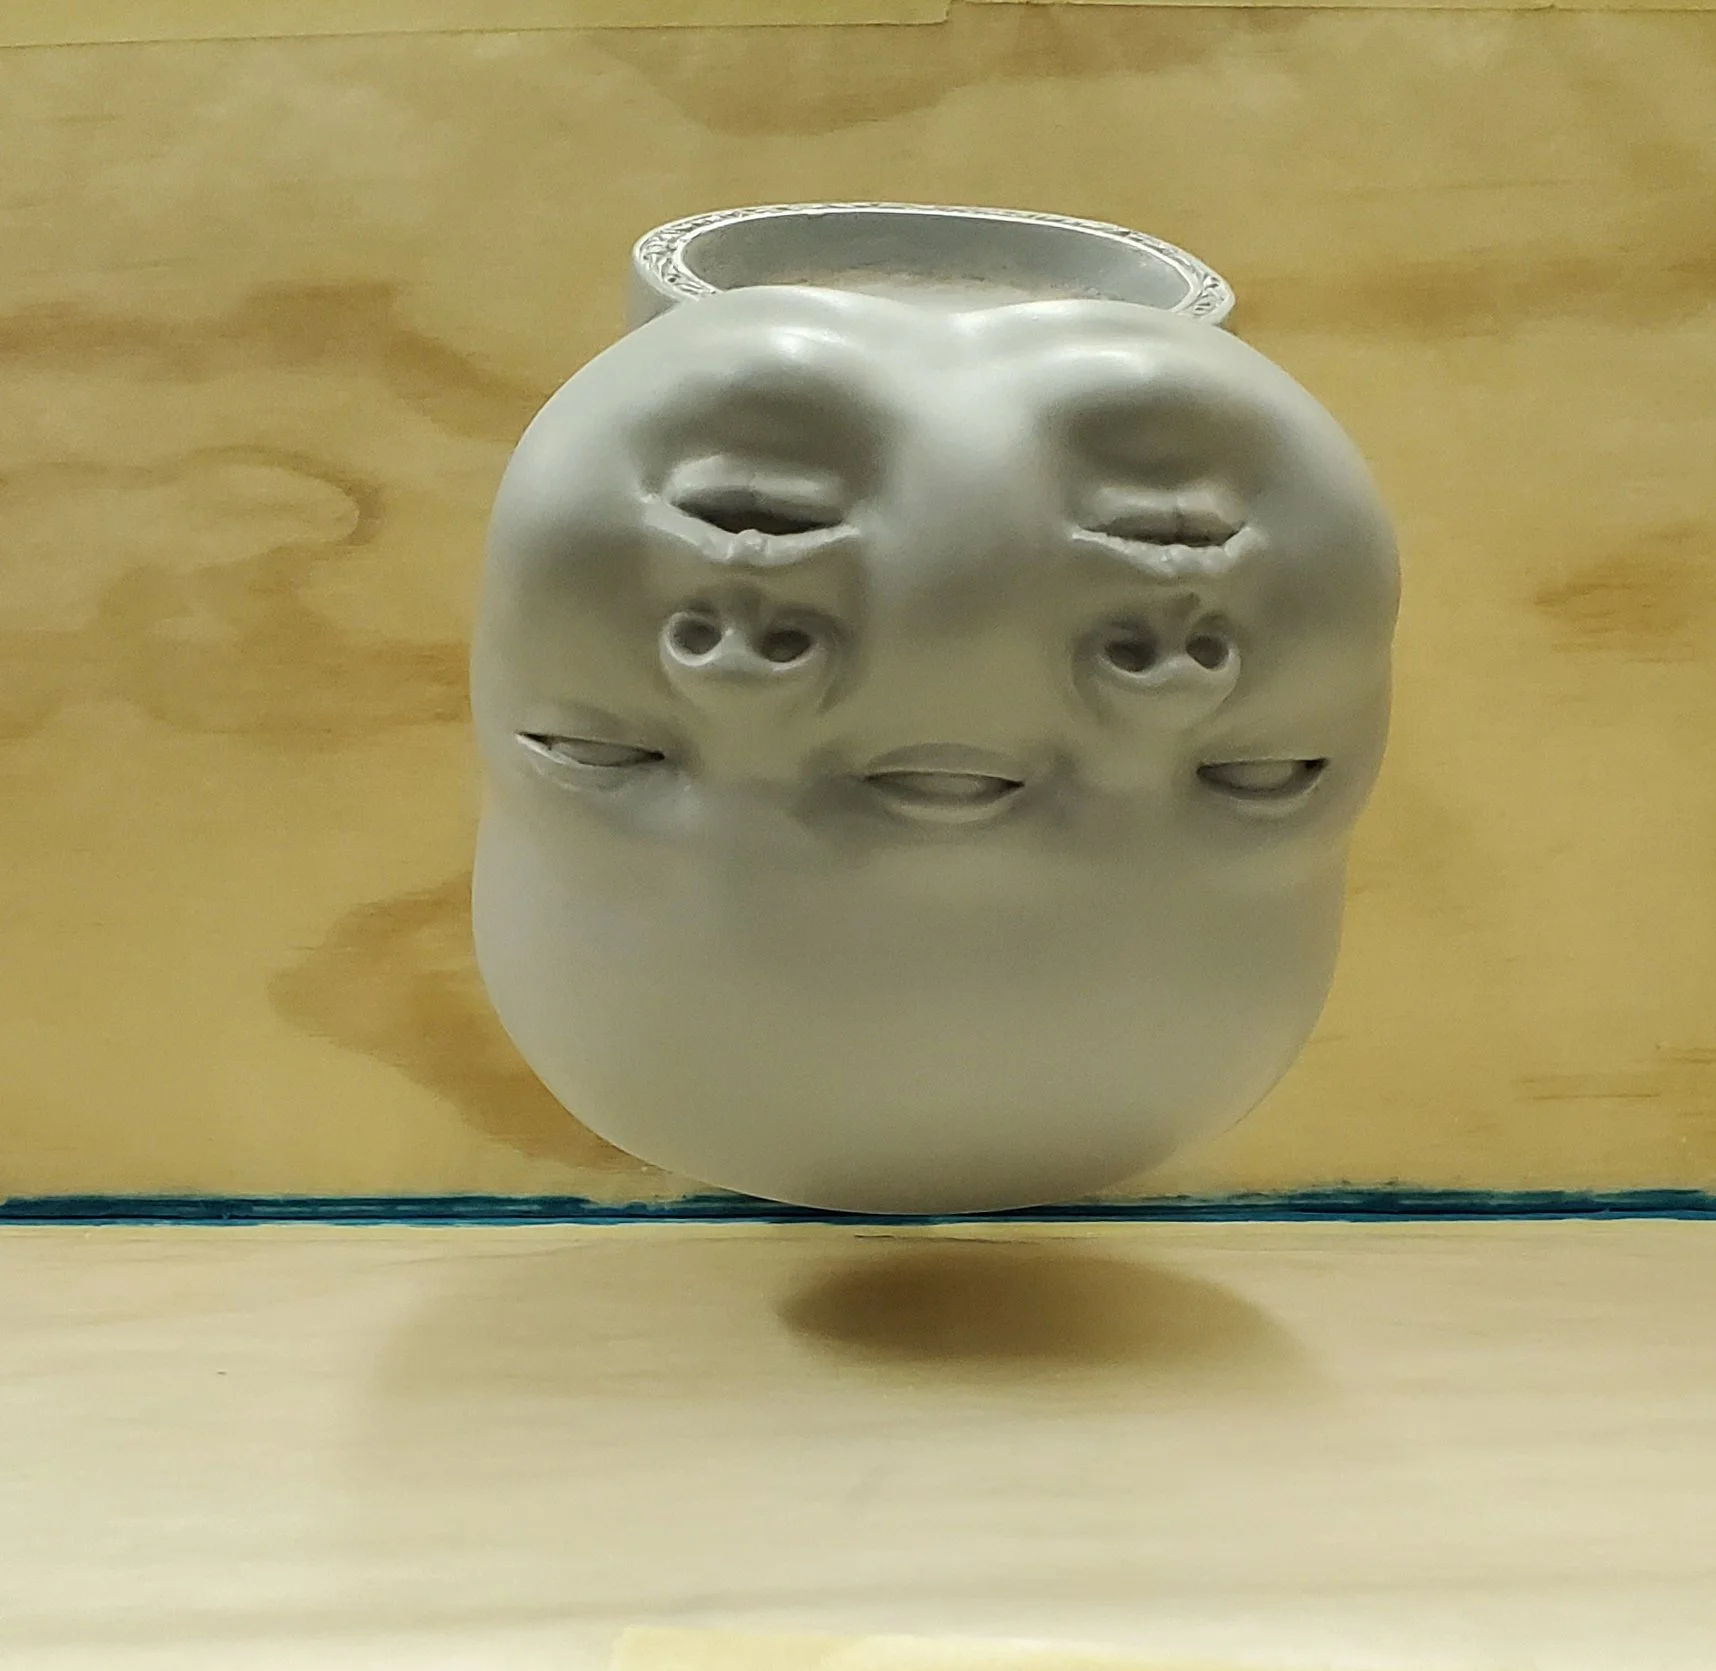
Once all three eyes were sculpted in, a mold box was built and a silicone mold was poured.
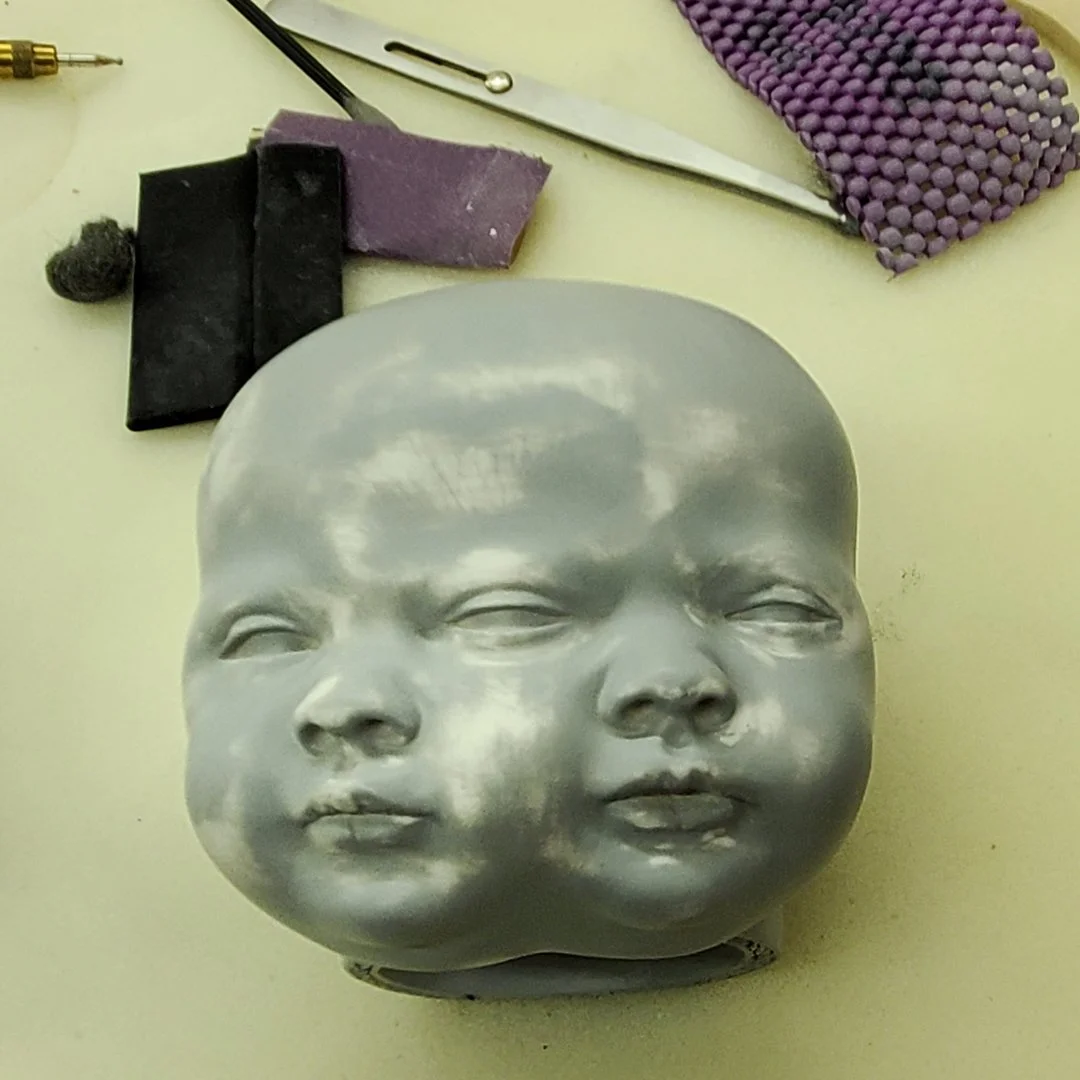
A resin head was made from the mold and a long time was spent sanding, smoothing, and refining all details.
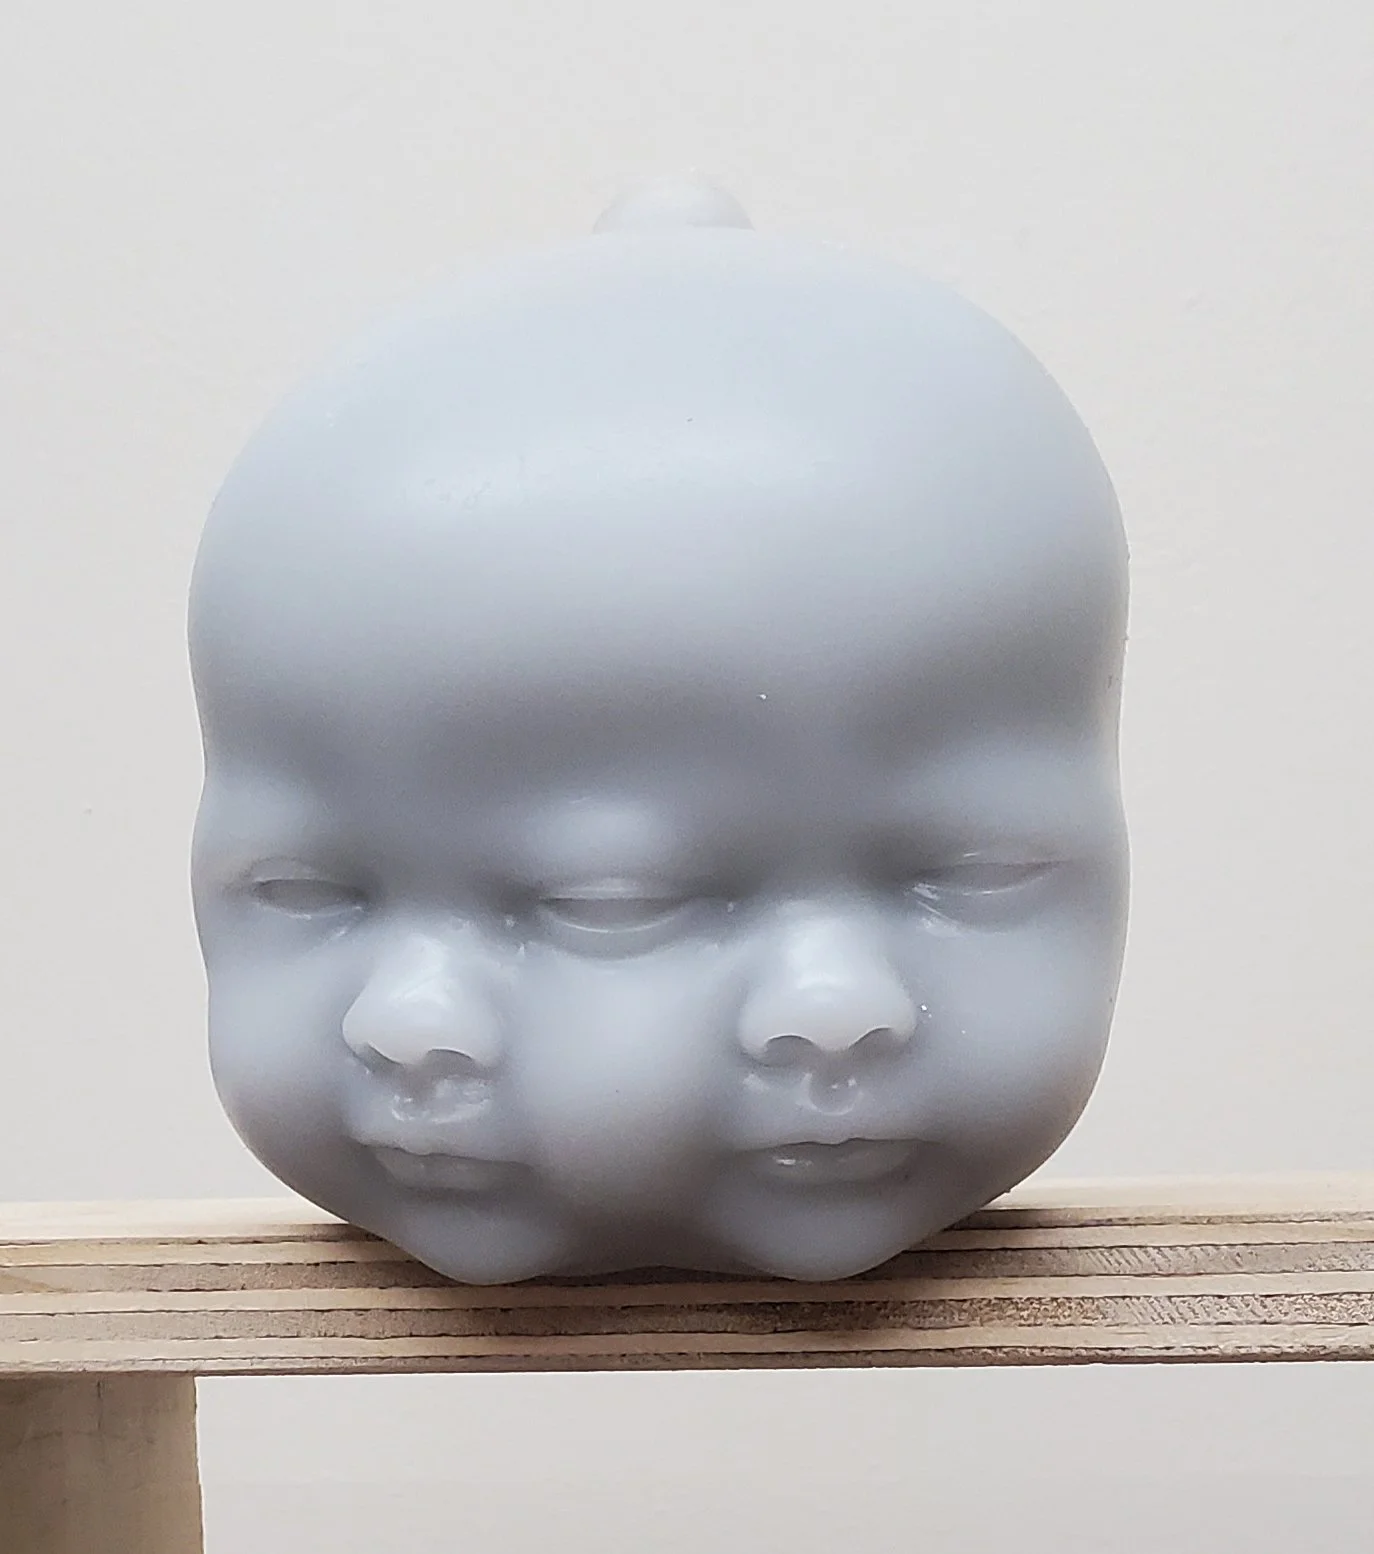
Many layers of primer and hours of sanding finally produced the smooth sculpture I was trying to achieve.
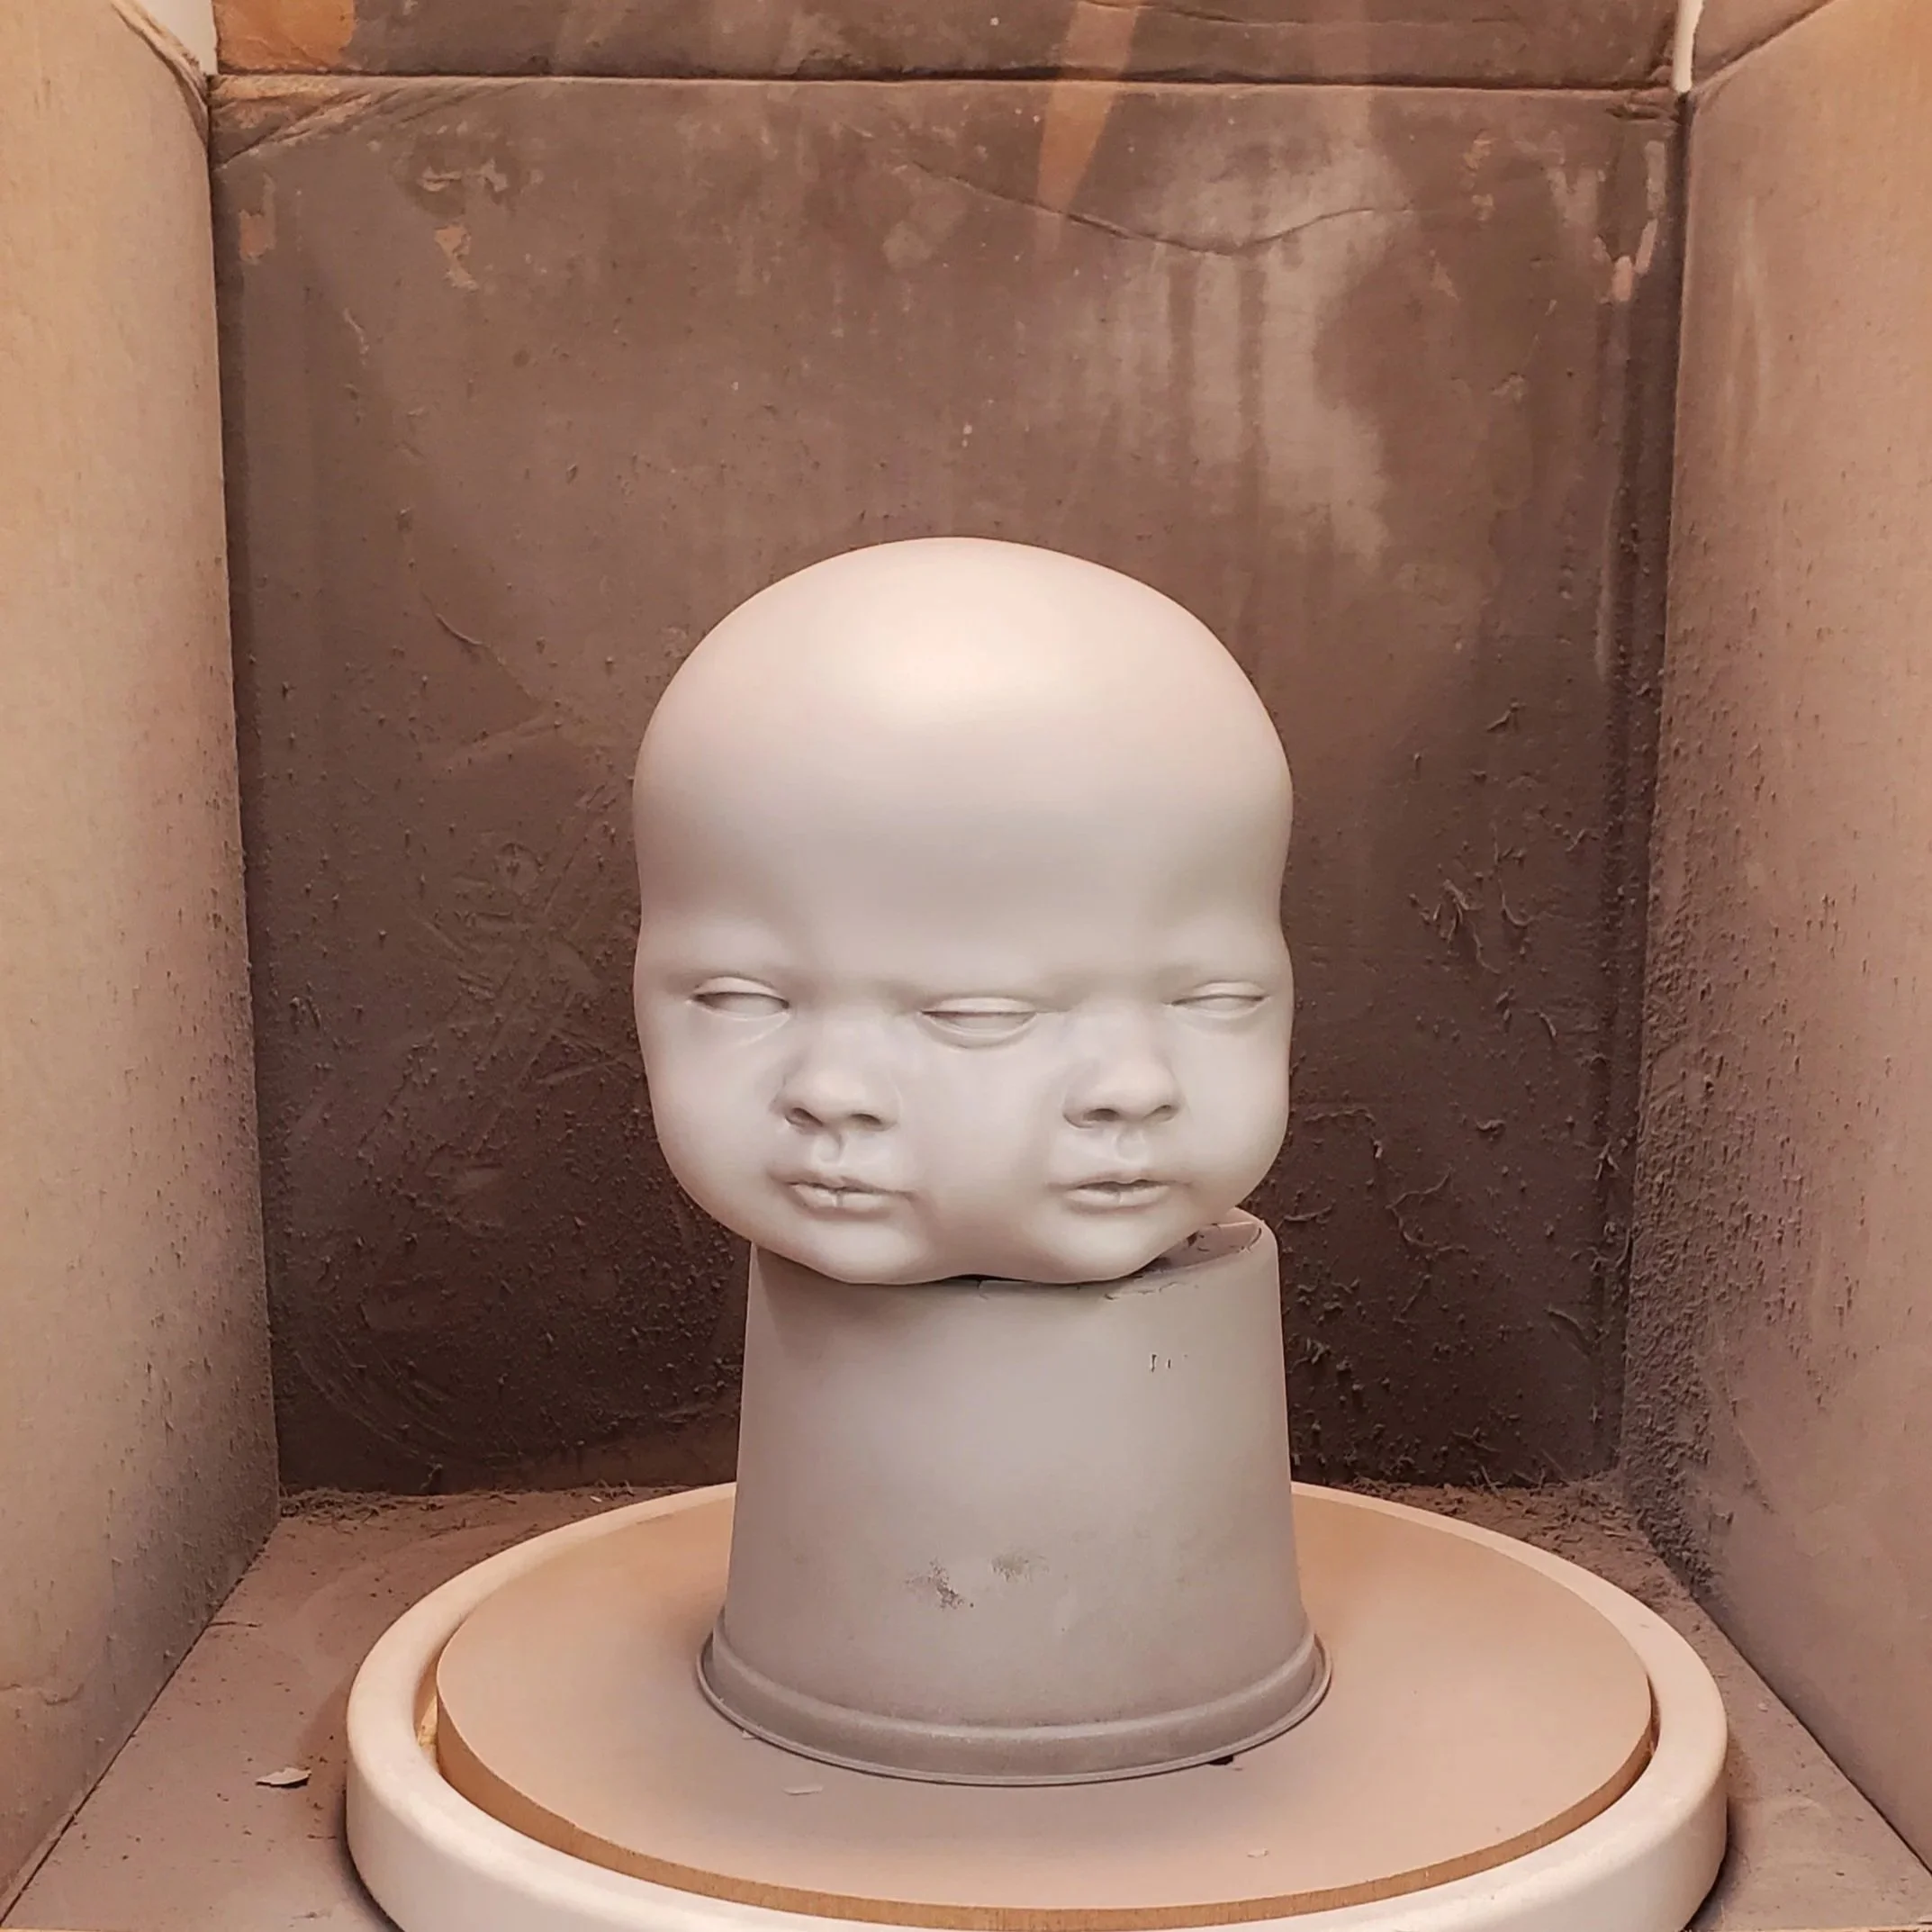
A pour spout was added to the top of the head and attached to the back of a mold box. A second silicone mold was made. In the above picture you can see the neck pocket that houses the neck piece.
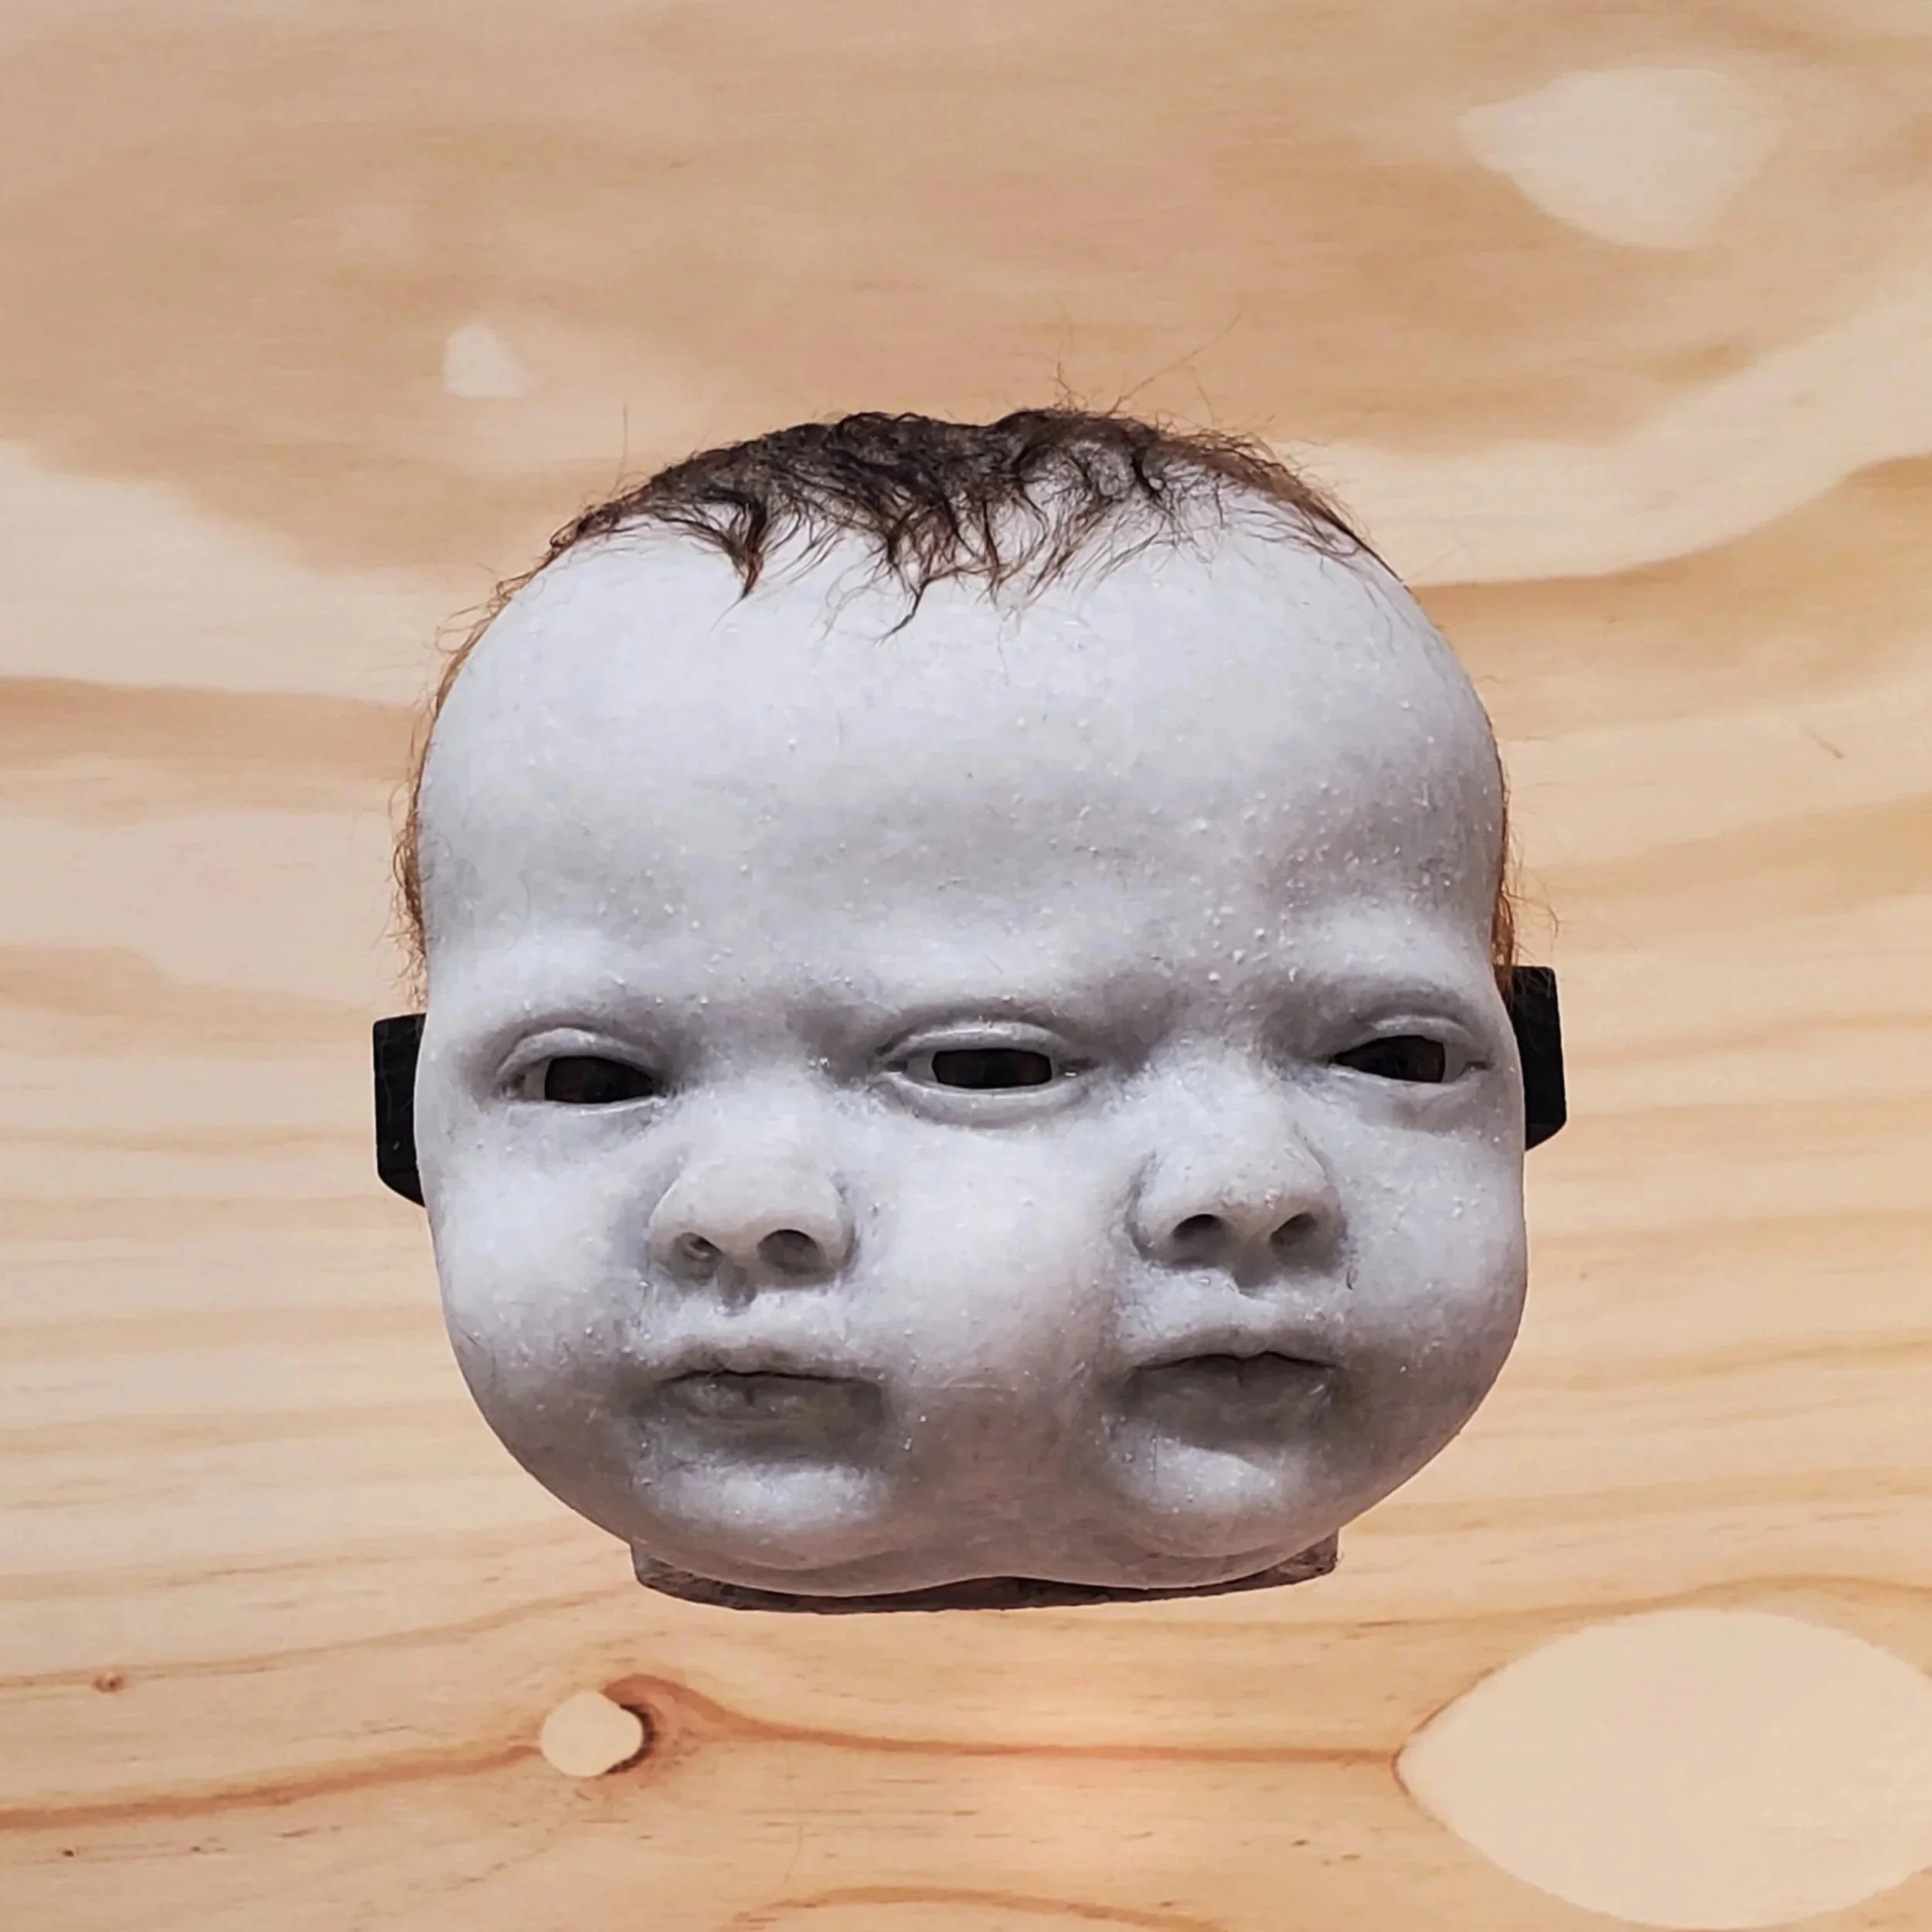
A copy of the head was produced in a tinted soft silicone, using Smooth-On’s Dragon Skin 10 with Silc Pig.
Pockets for the acrylic eyes were carefully cut out of the silicone head.

After the eyes were cut out, the head was painted with Smooth-On’s Psycho Paint, a paint appropriate for painting silicone. Since this would be for a tintype, the head was painted in grey scale. A combination of airbrush and hand brush was used.
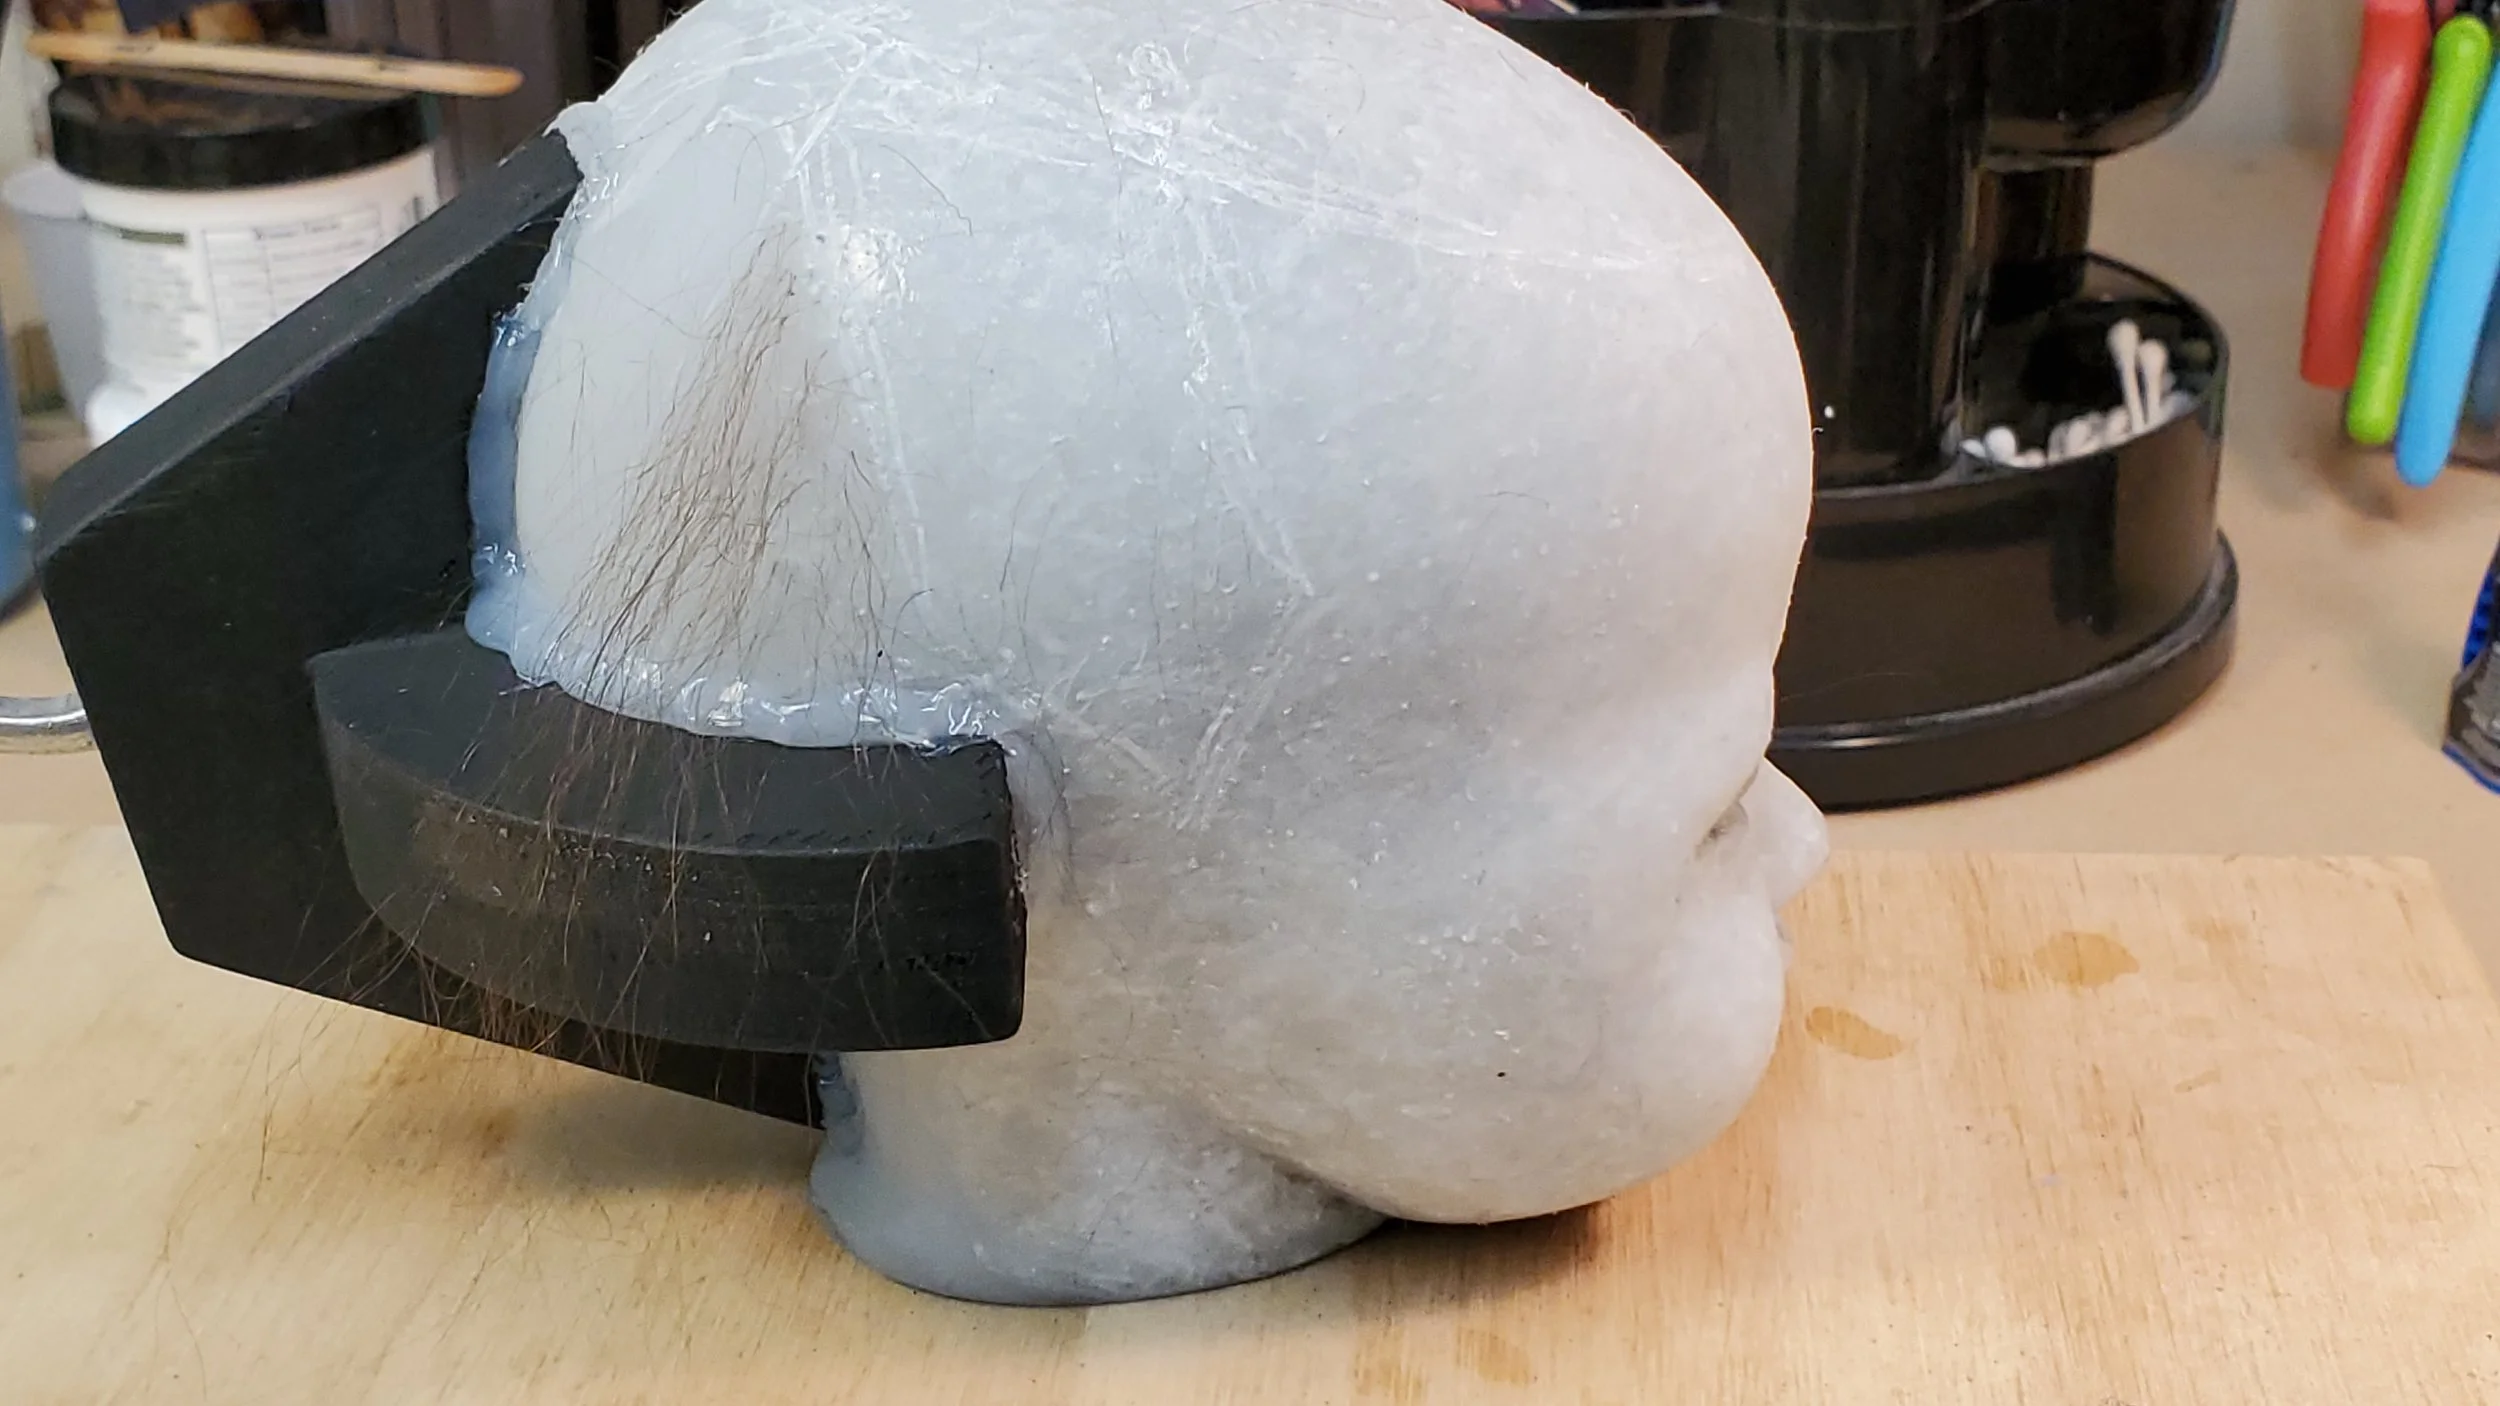
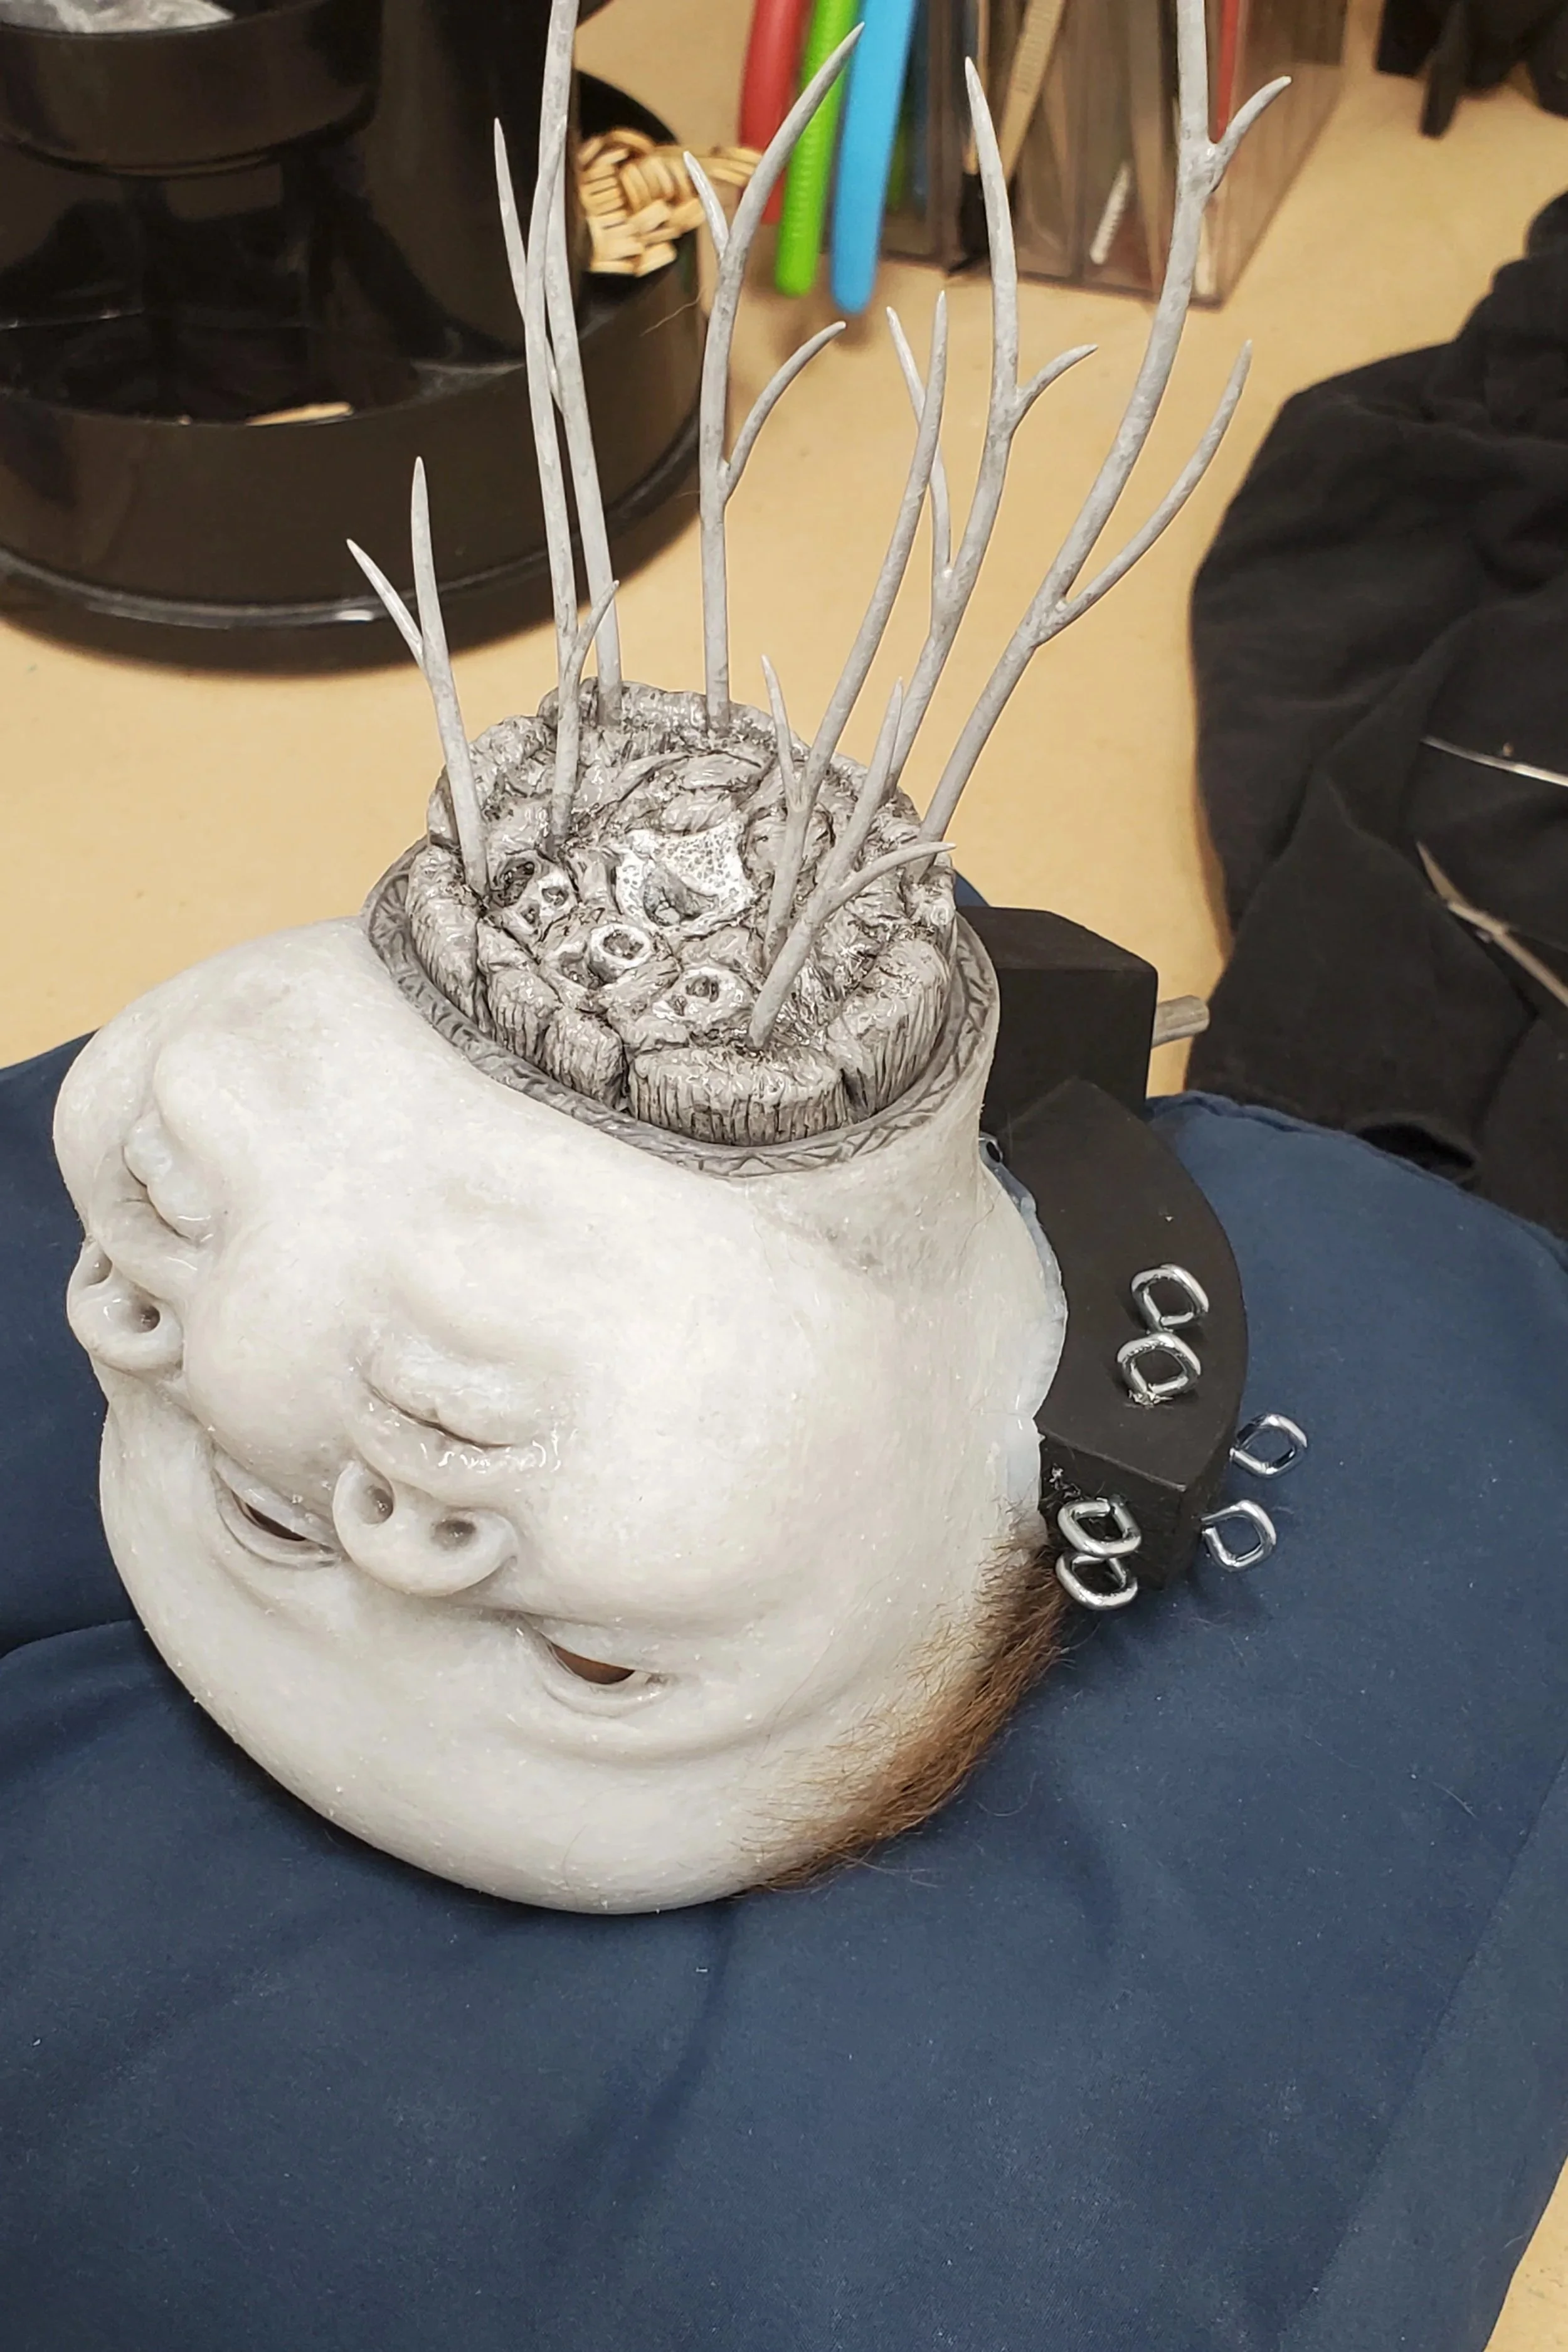
Rooting hair began after a head harness was attached to the back of the head, enabling me to hang the piece securely for photographing and have something to attach flowers to later.
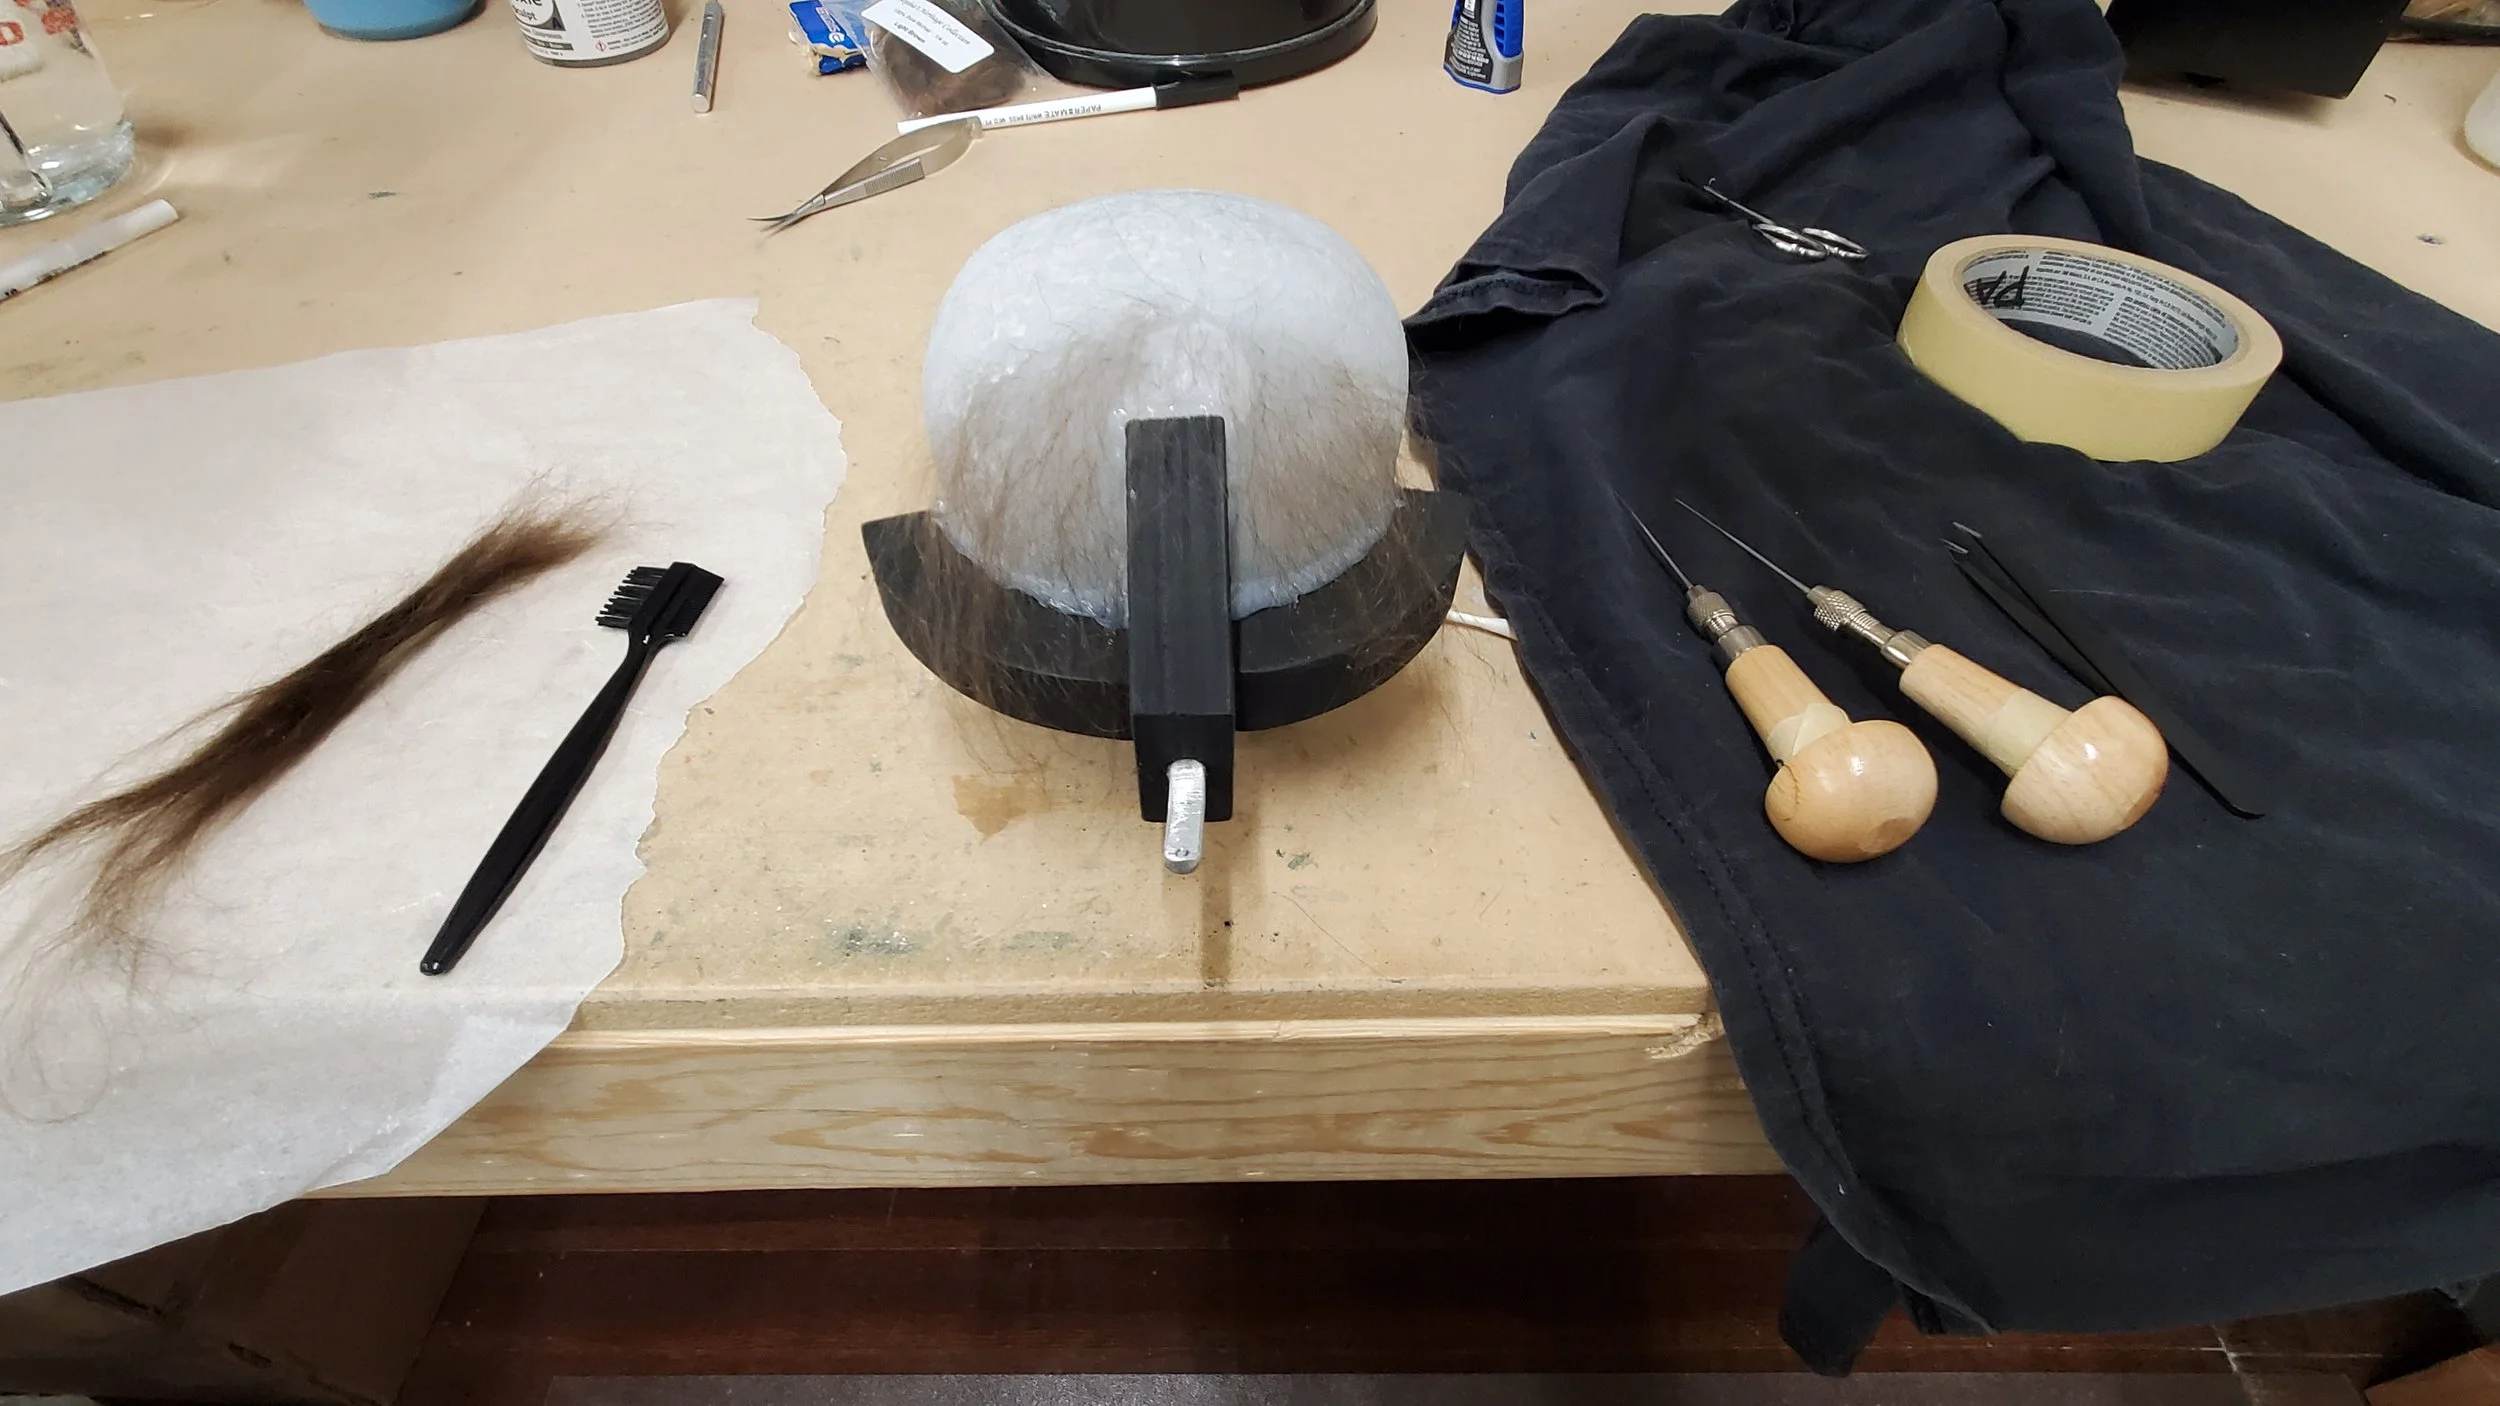
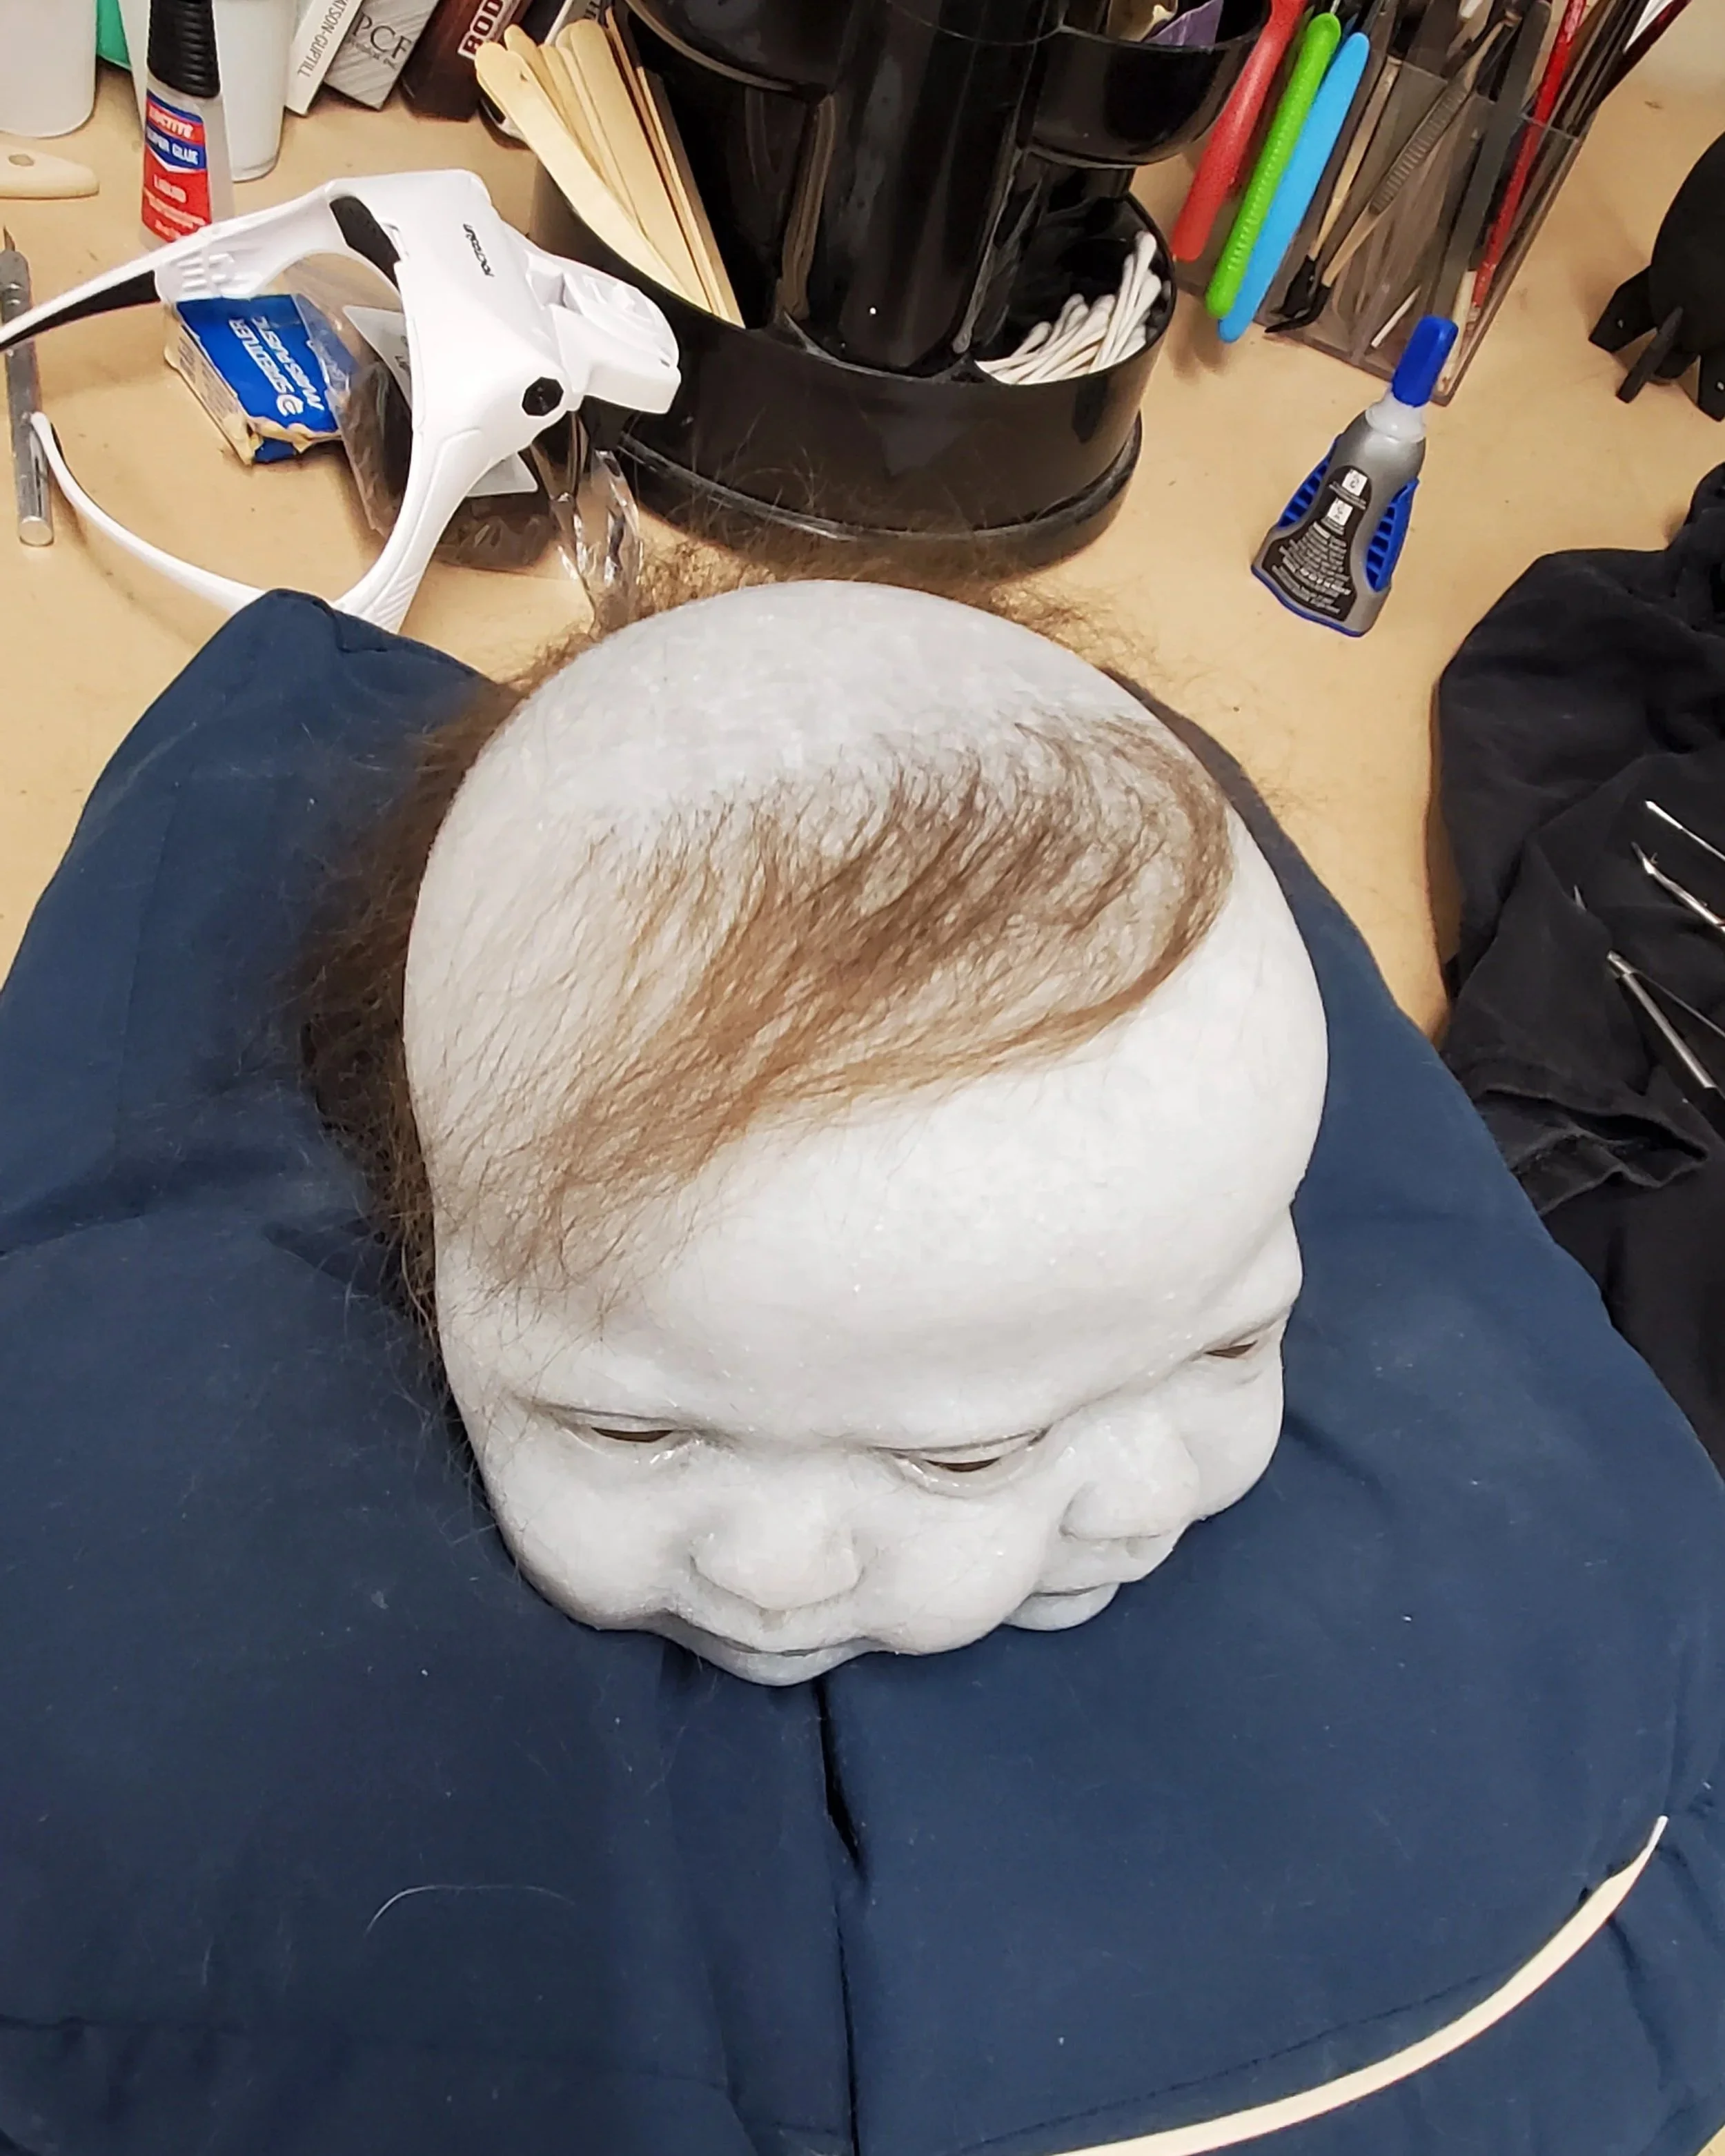
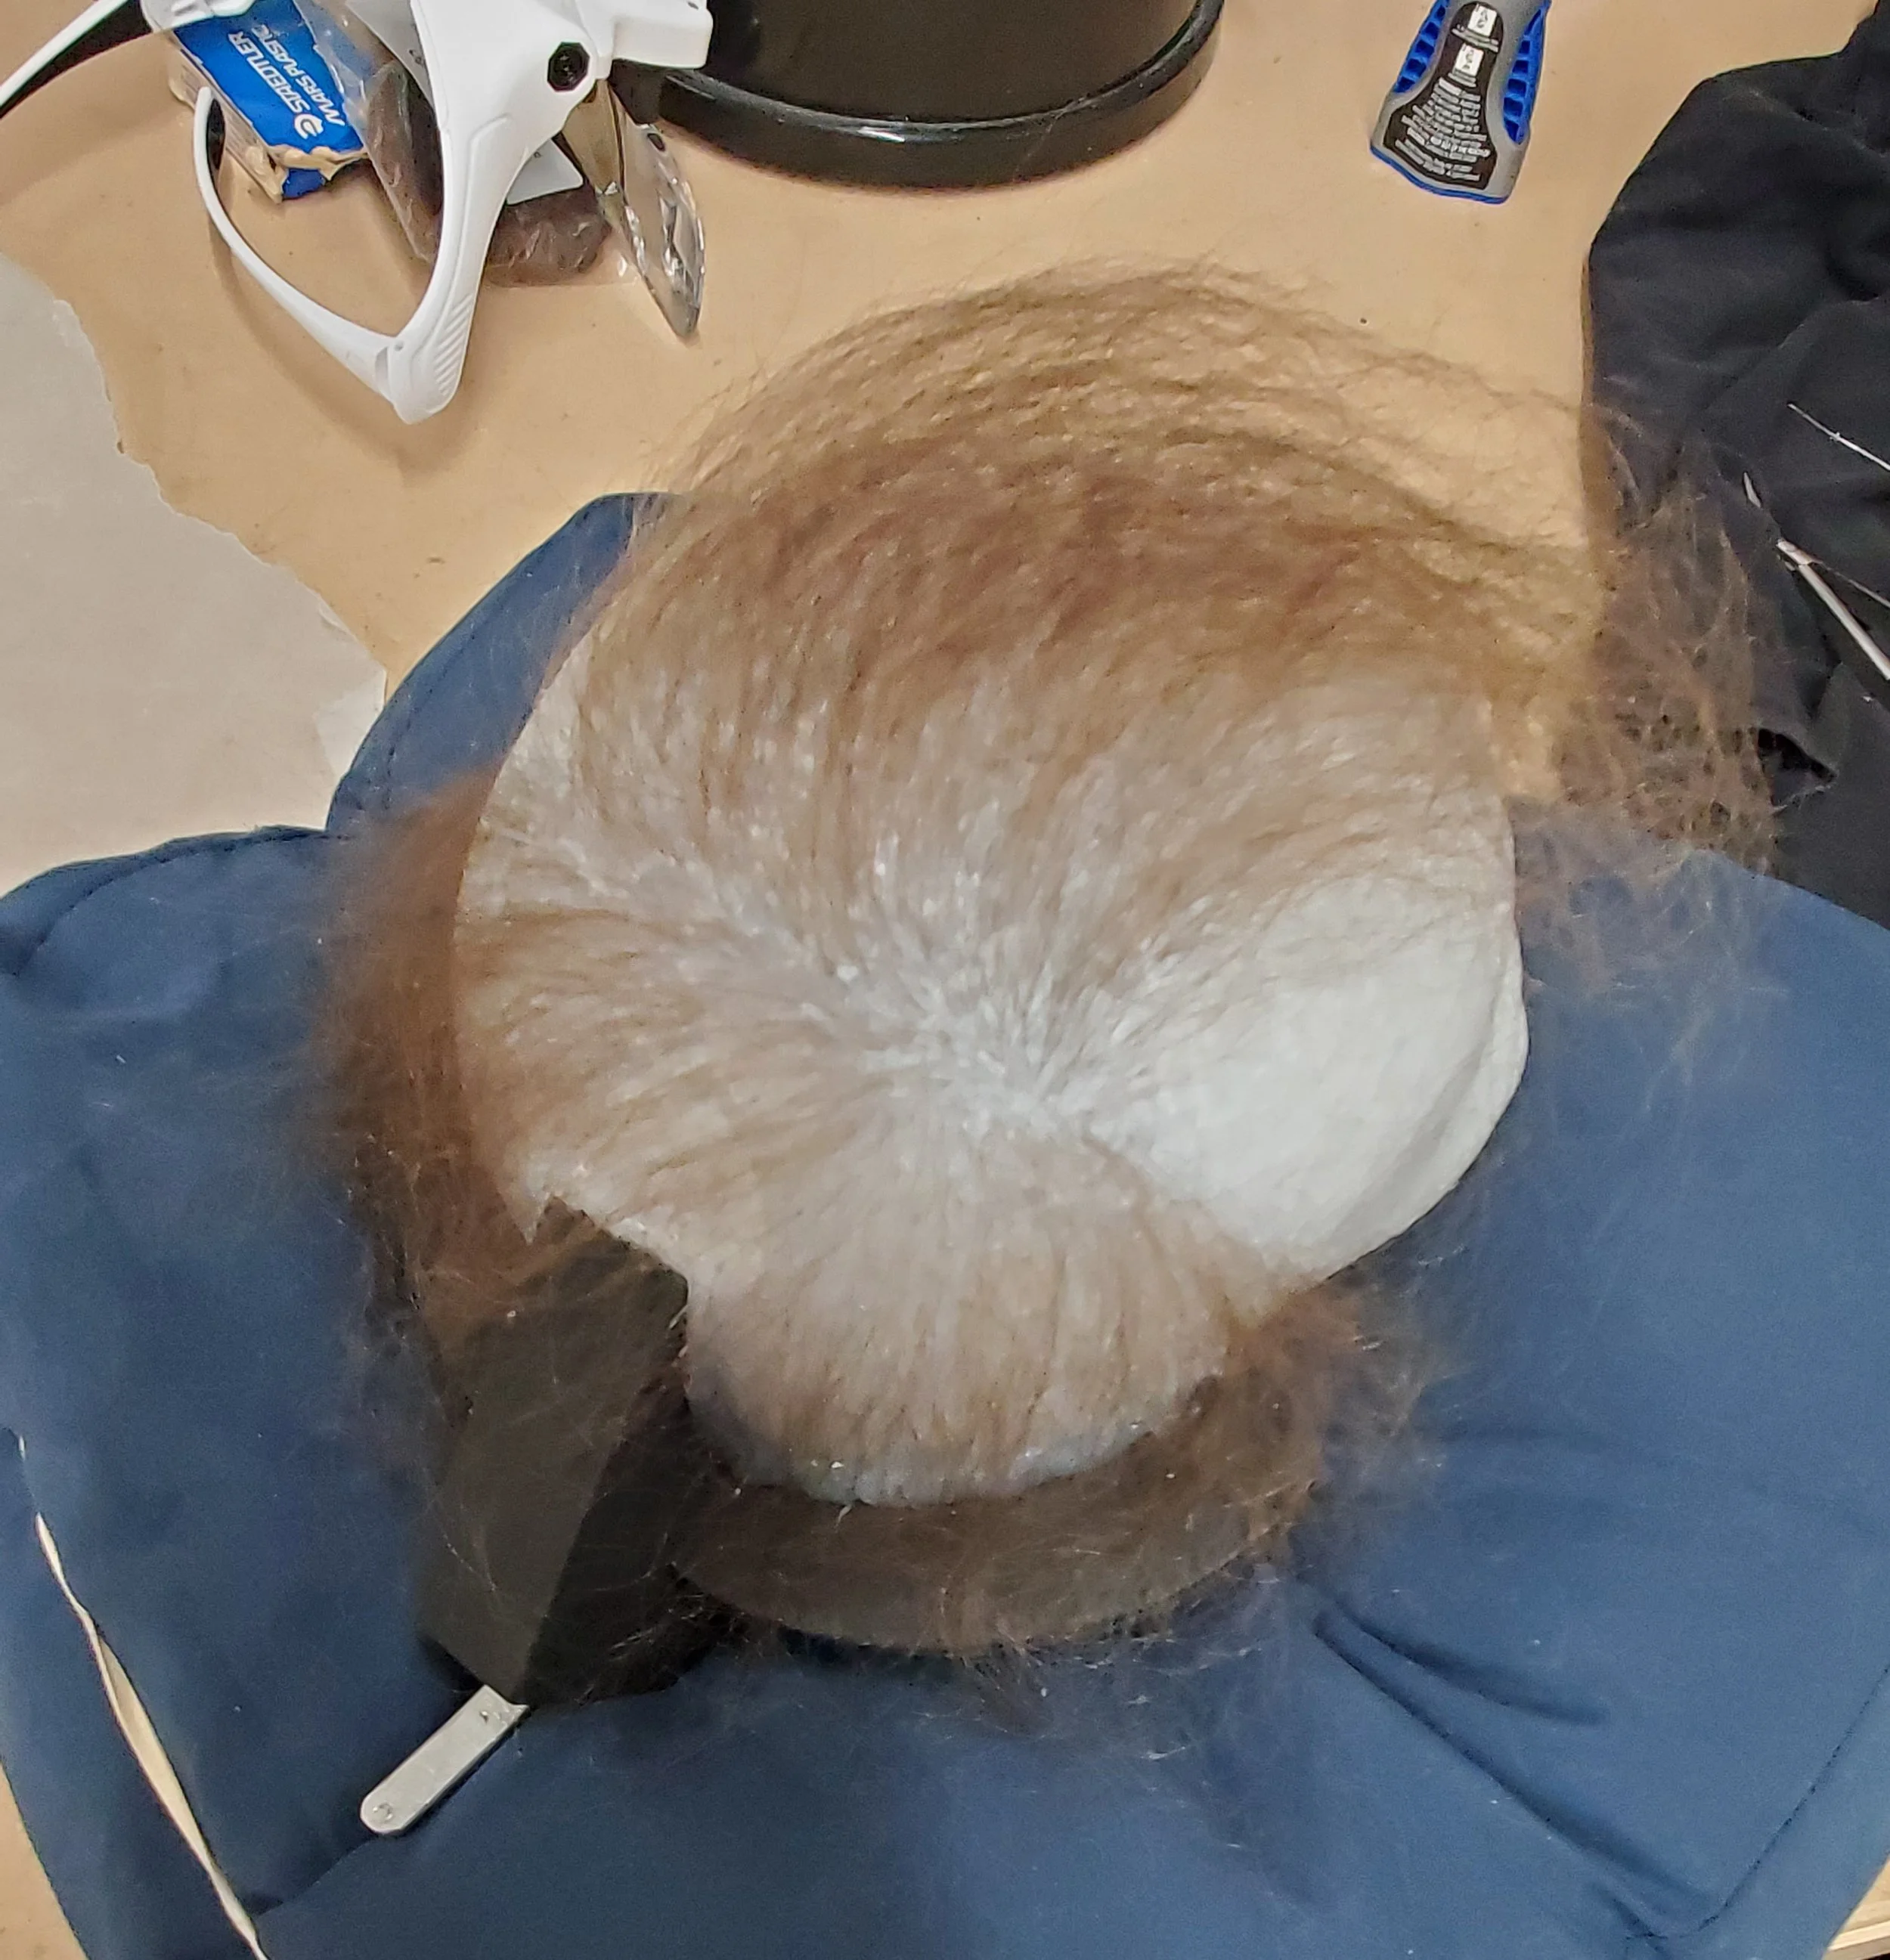
I knew most of the hair I was adding wouldn’t be seen in the finished tintype, but since this was my first attempt at rooting hair, I felt it good practice to complete the head.
The finished silicone head after painting and hair work, hung on the head harness.
Once the head was finished, the neck piece was glued into place.
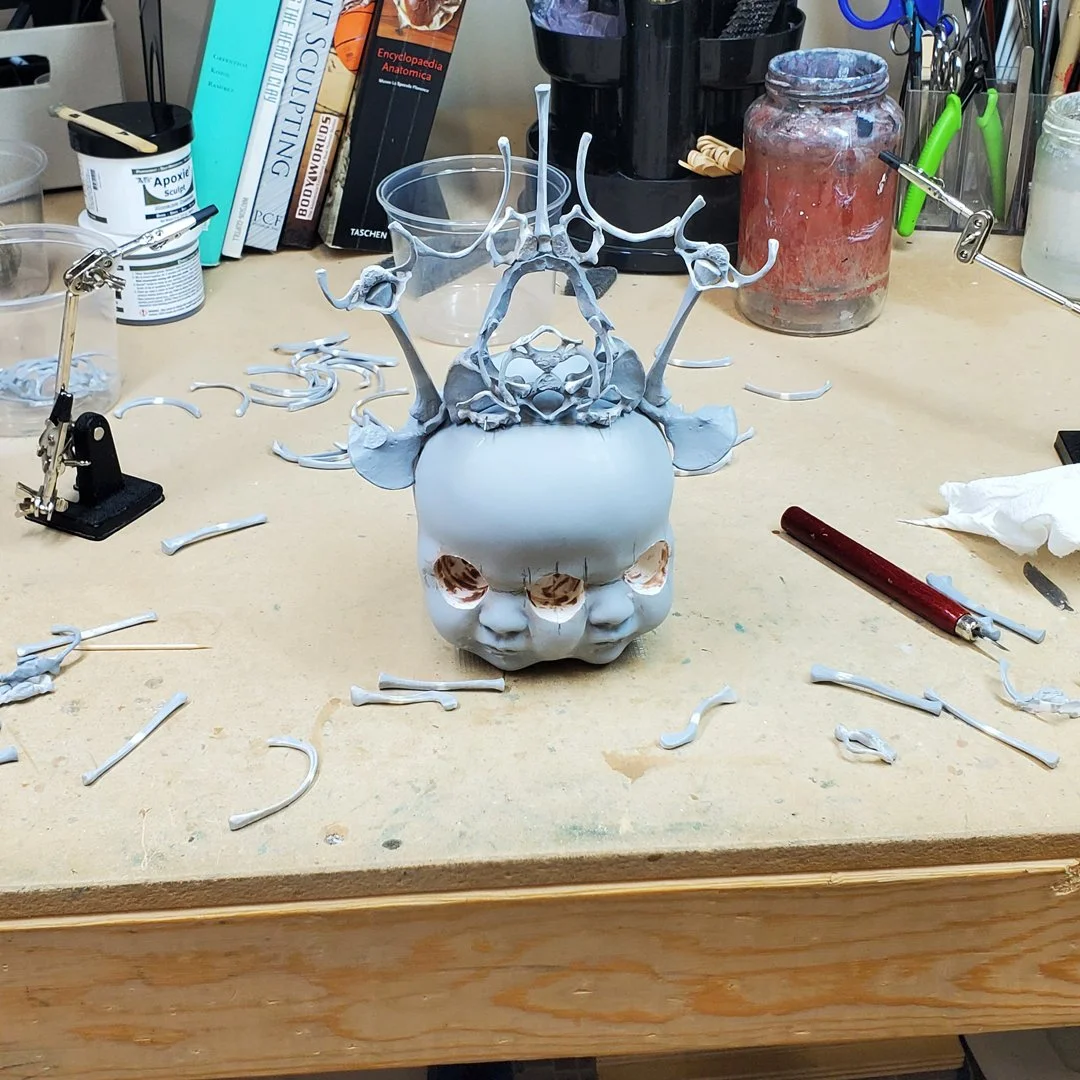
In 2025, I started work on the sculpture again with the headdress. Building it piece by piece on top of the rigid head model.
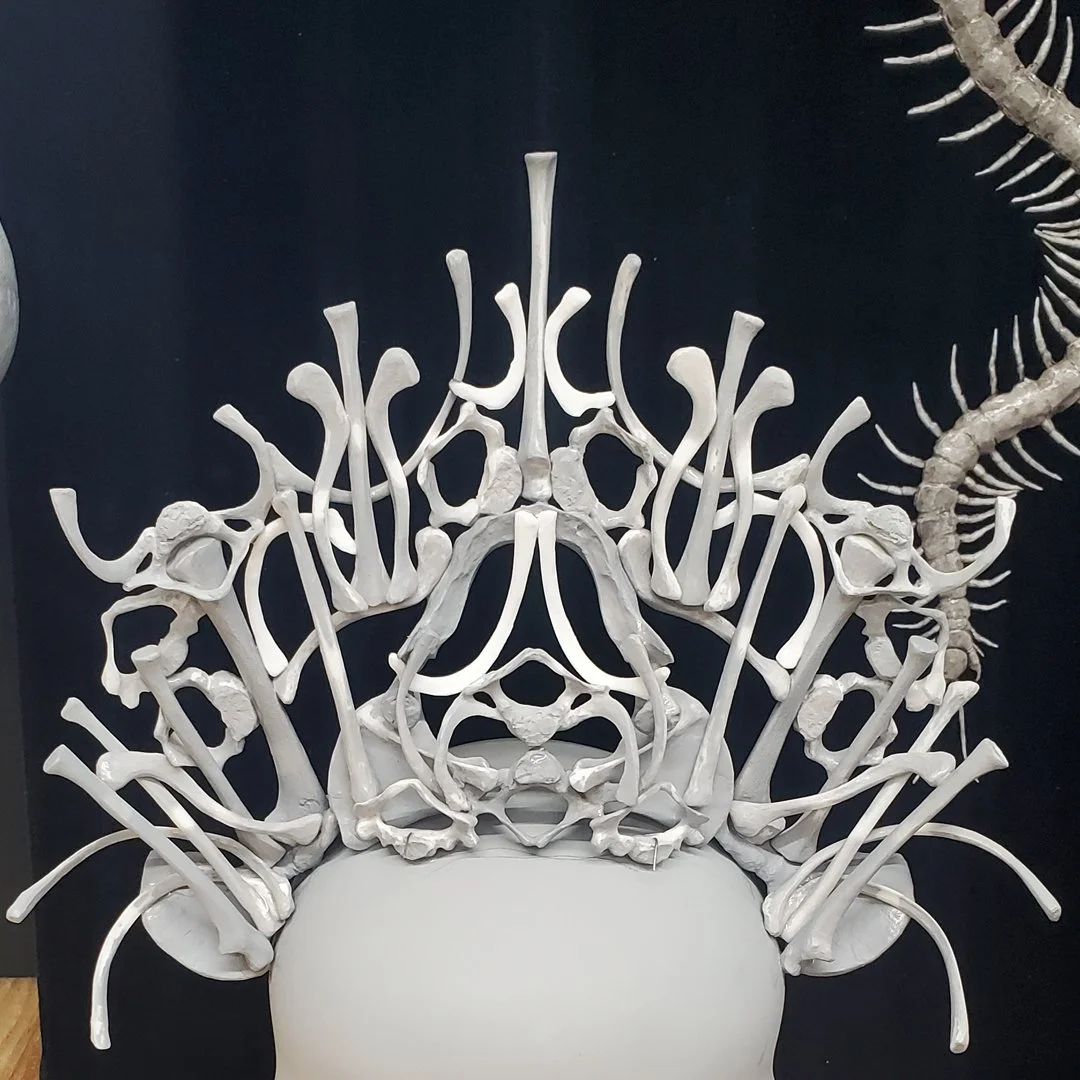
The head assembled but unpainted.
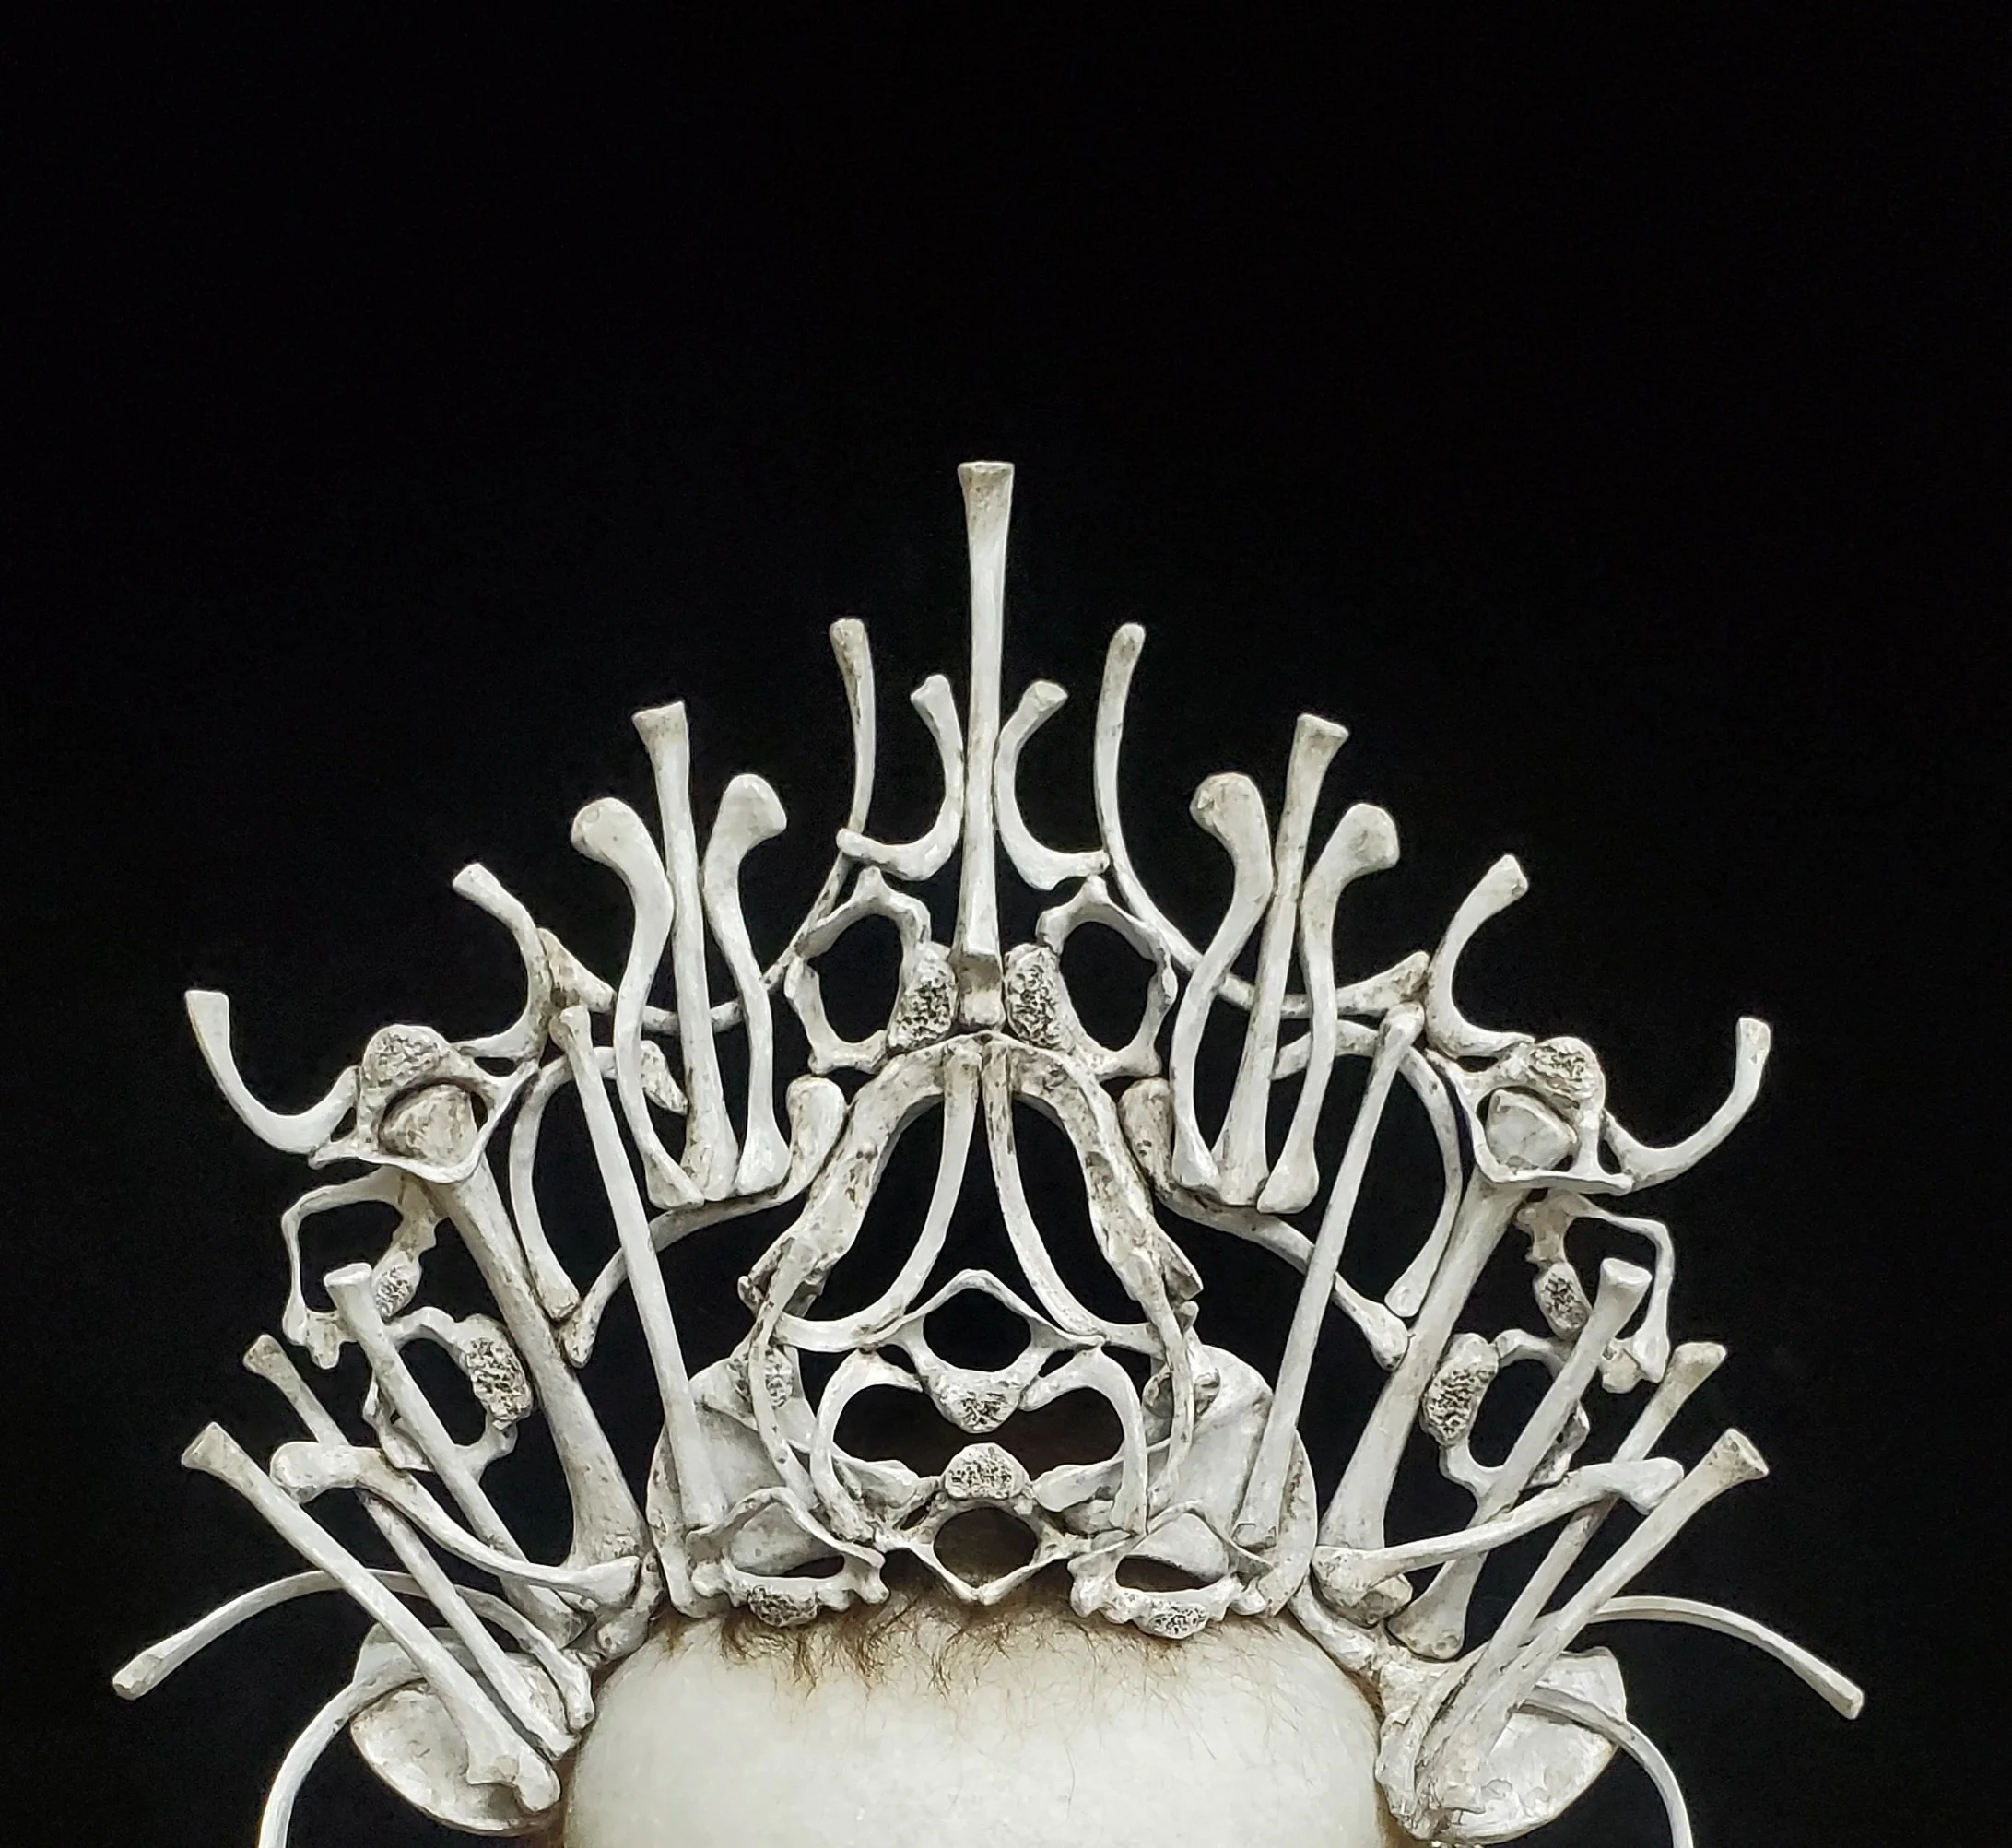
The painted completed headdress fitted to the silicone model.
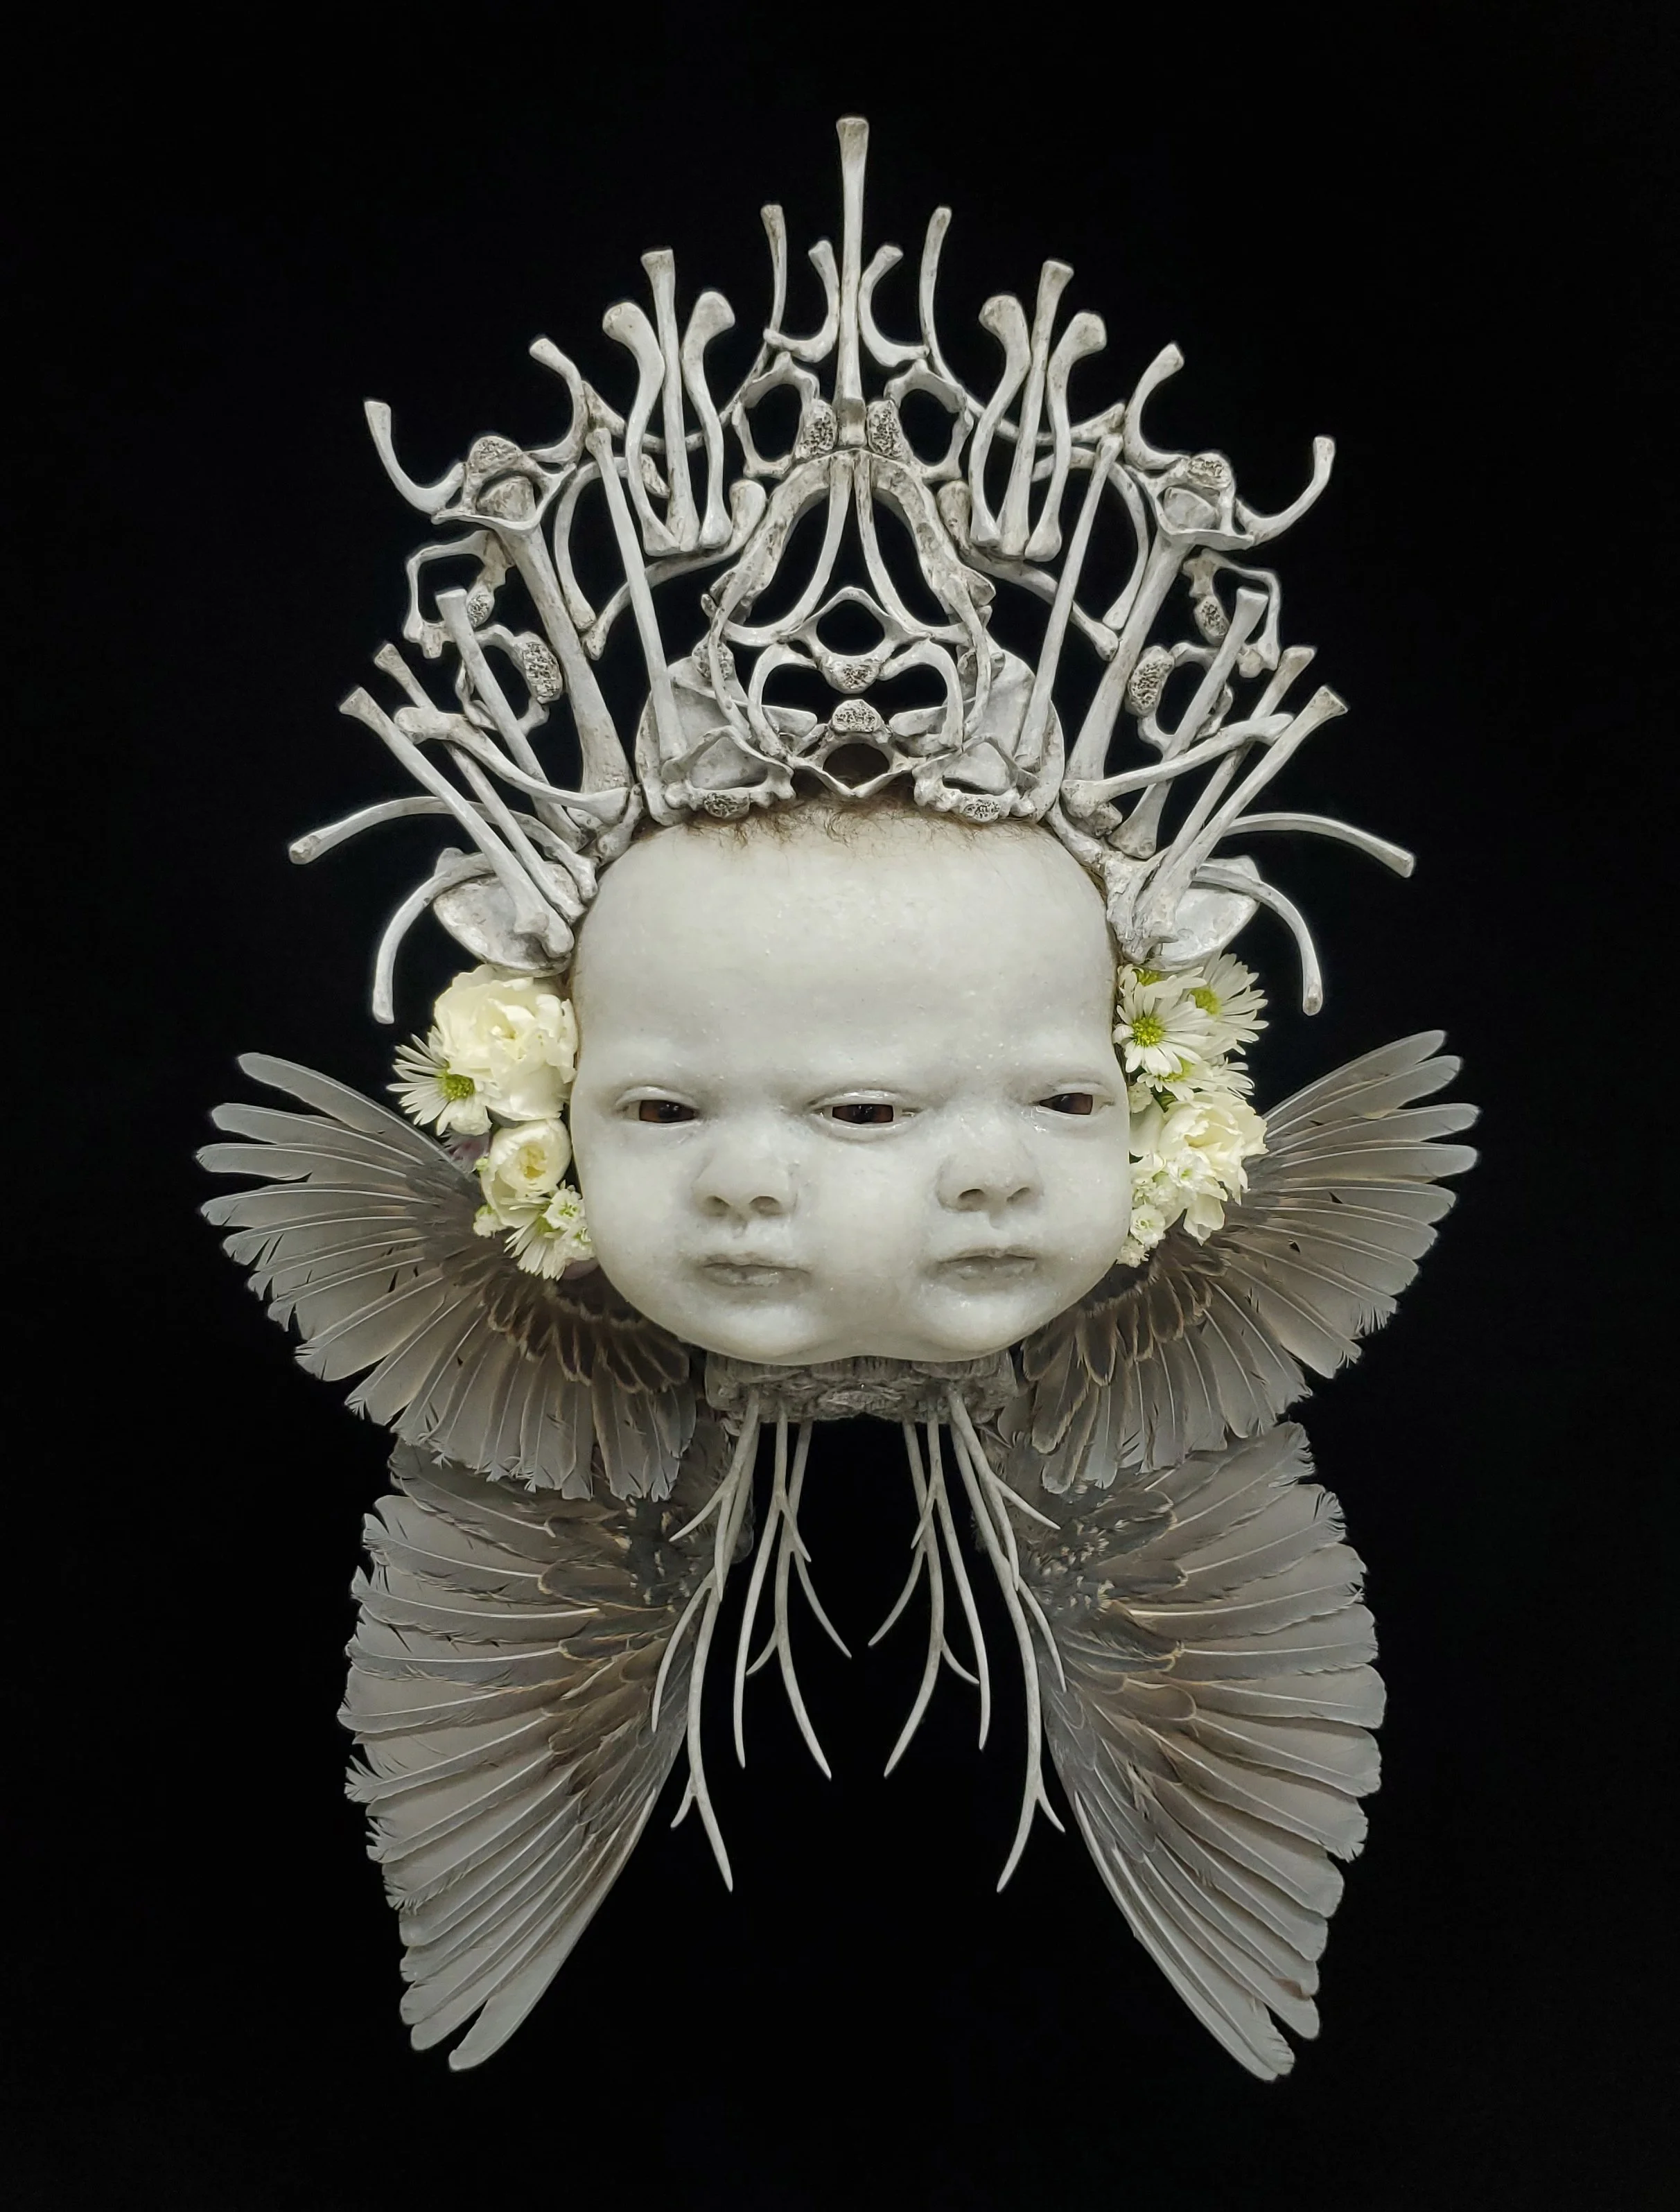
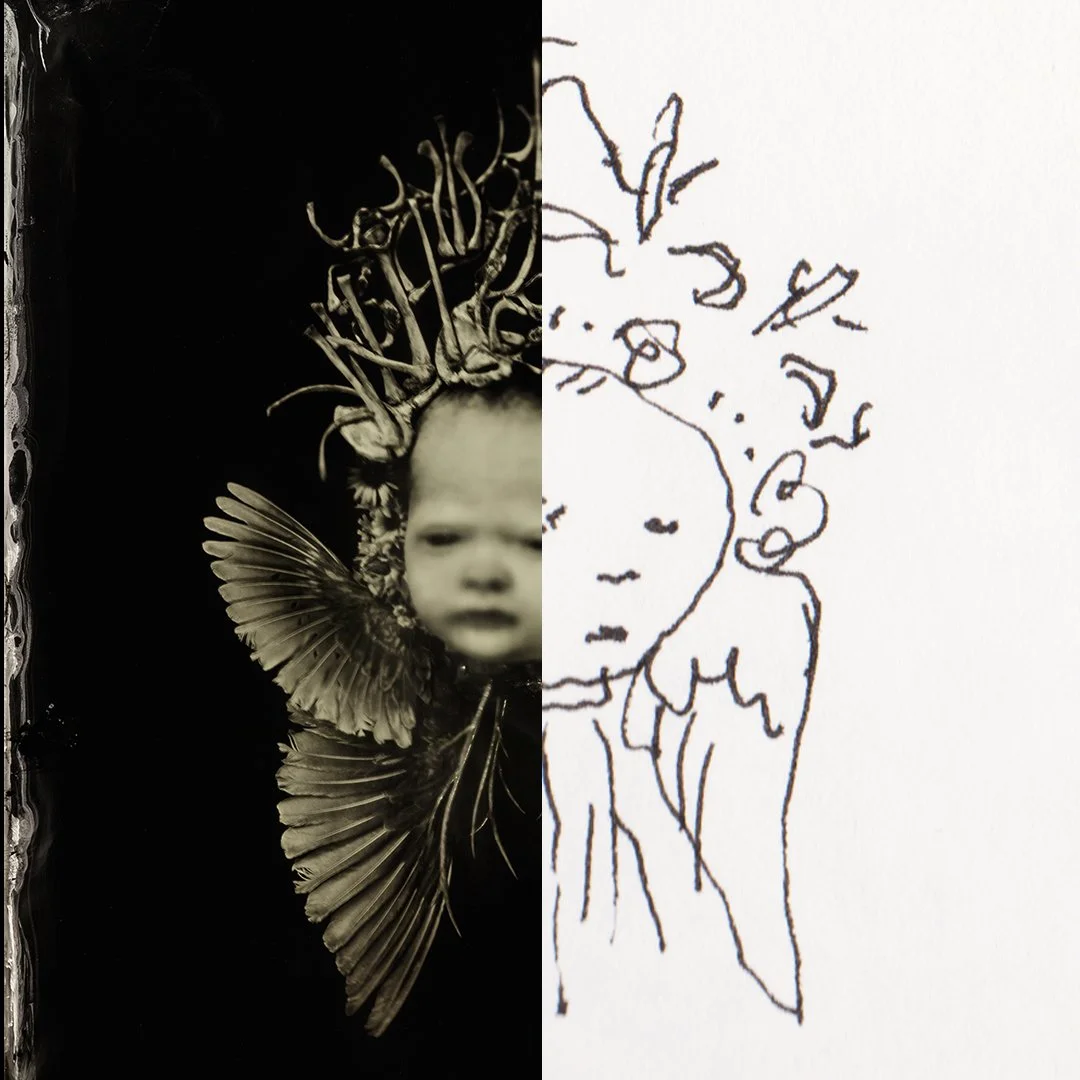
The finished sculpture after the addition of flowers and bird wings.
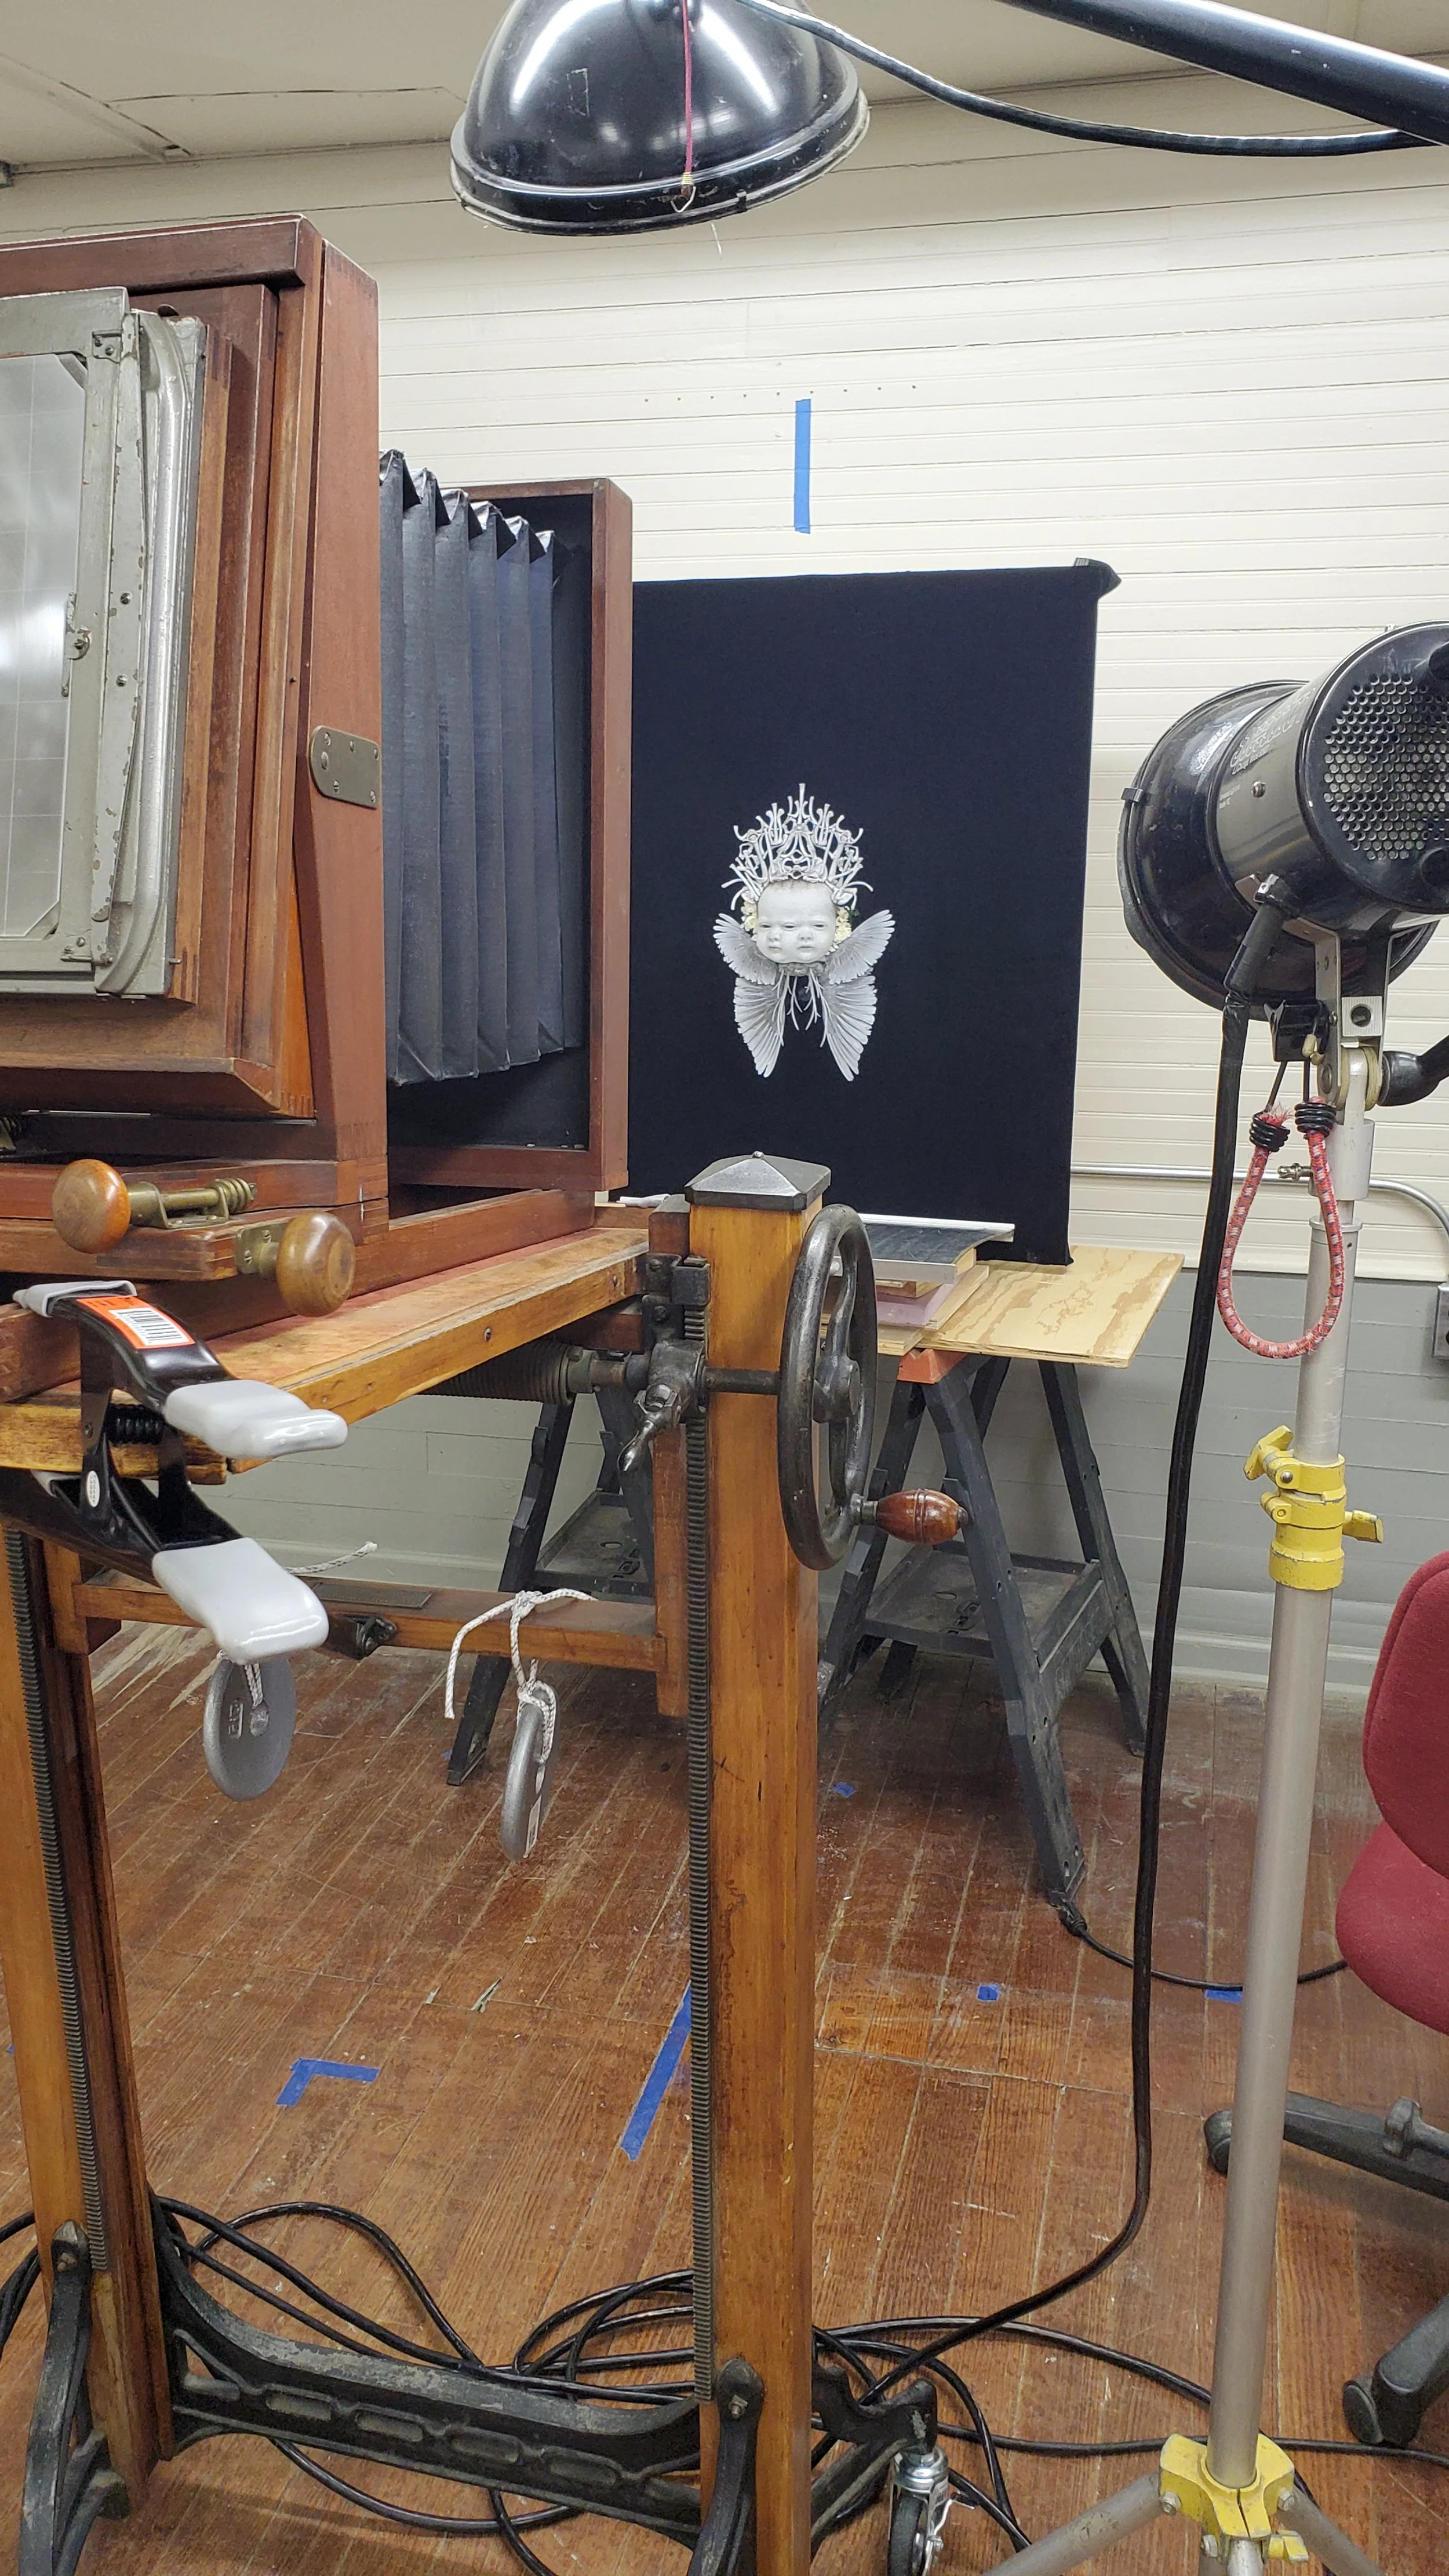
The sculpture was lit with strobes and photographed with my 8×10 adapted Century 1A camera with a Dallmeyer 3A lens.
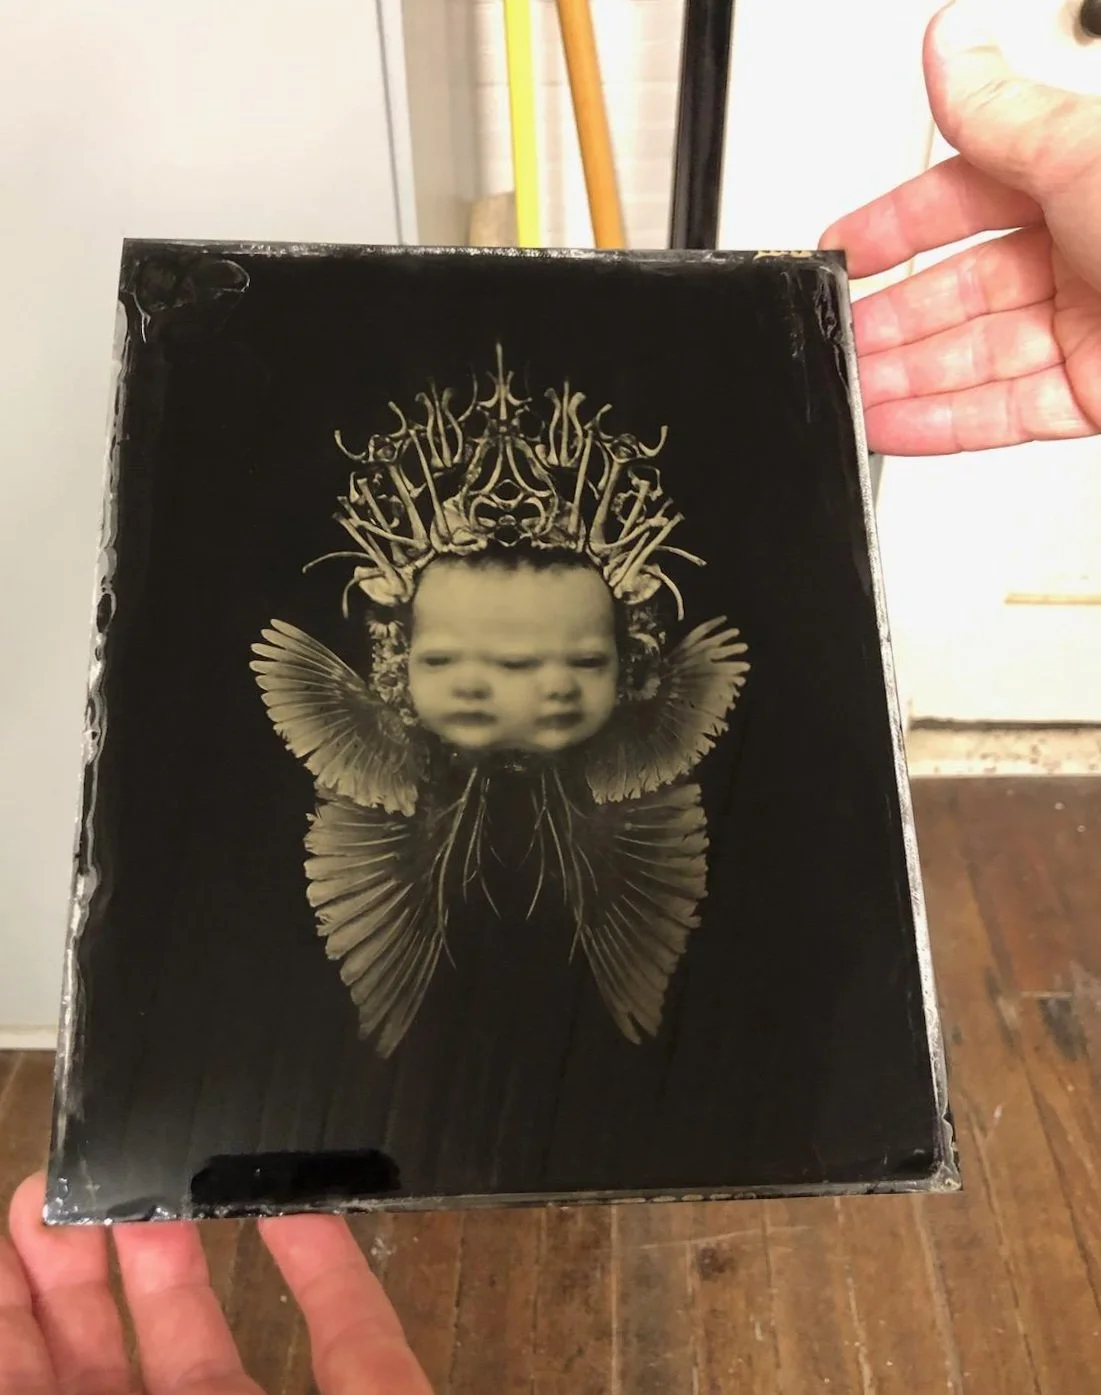
The finished 8×10 tintype.
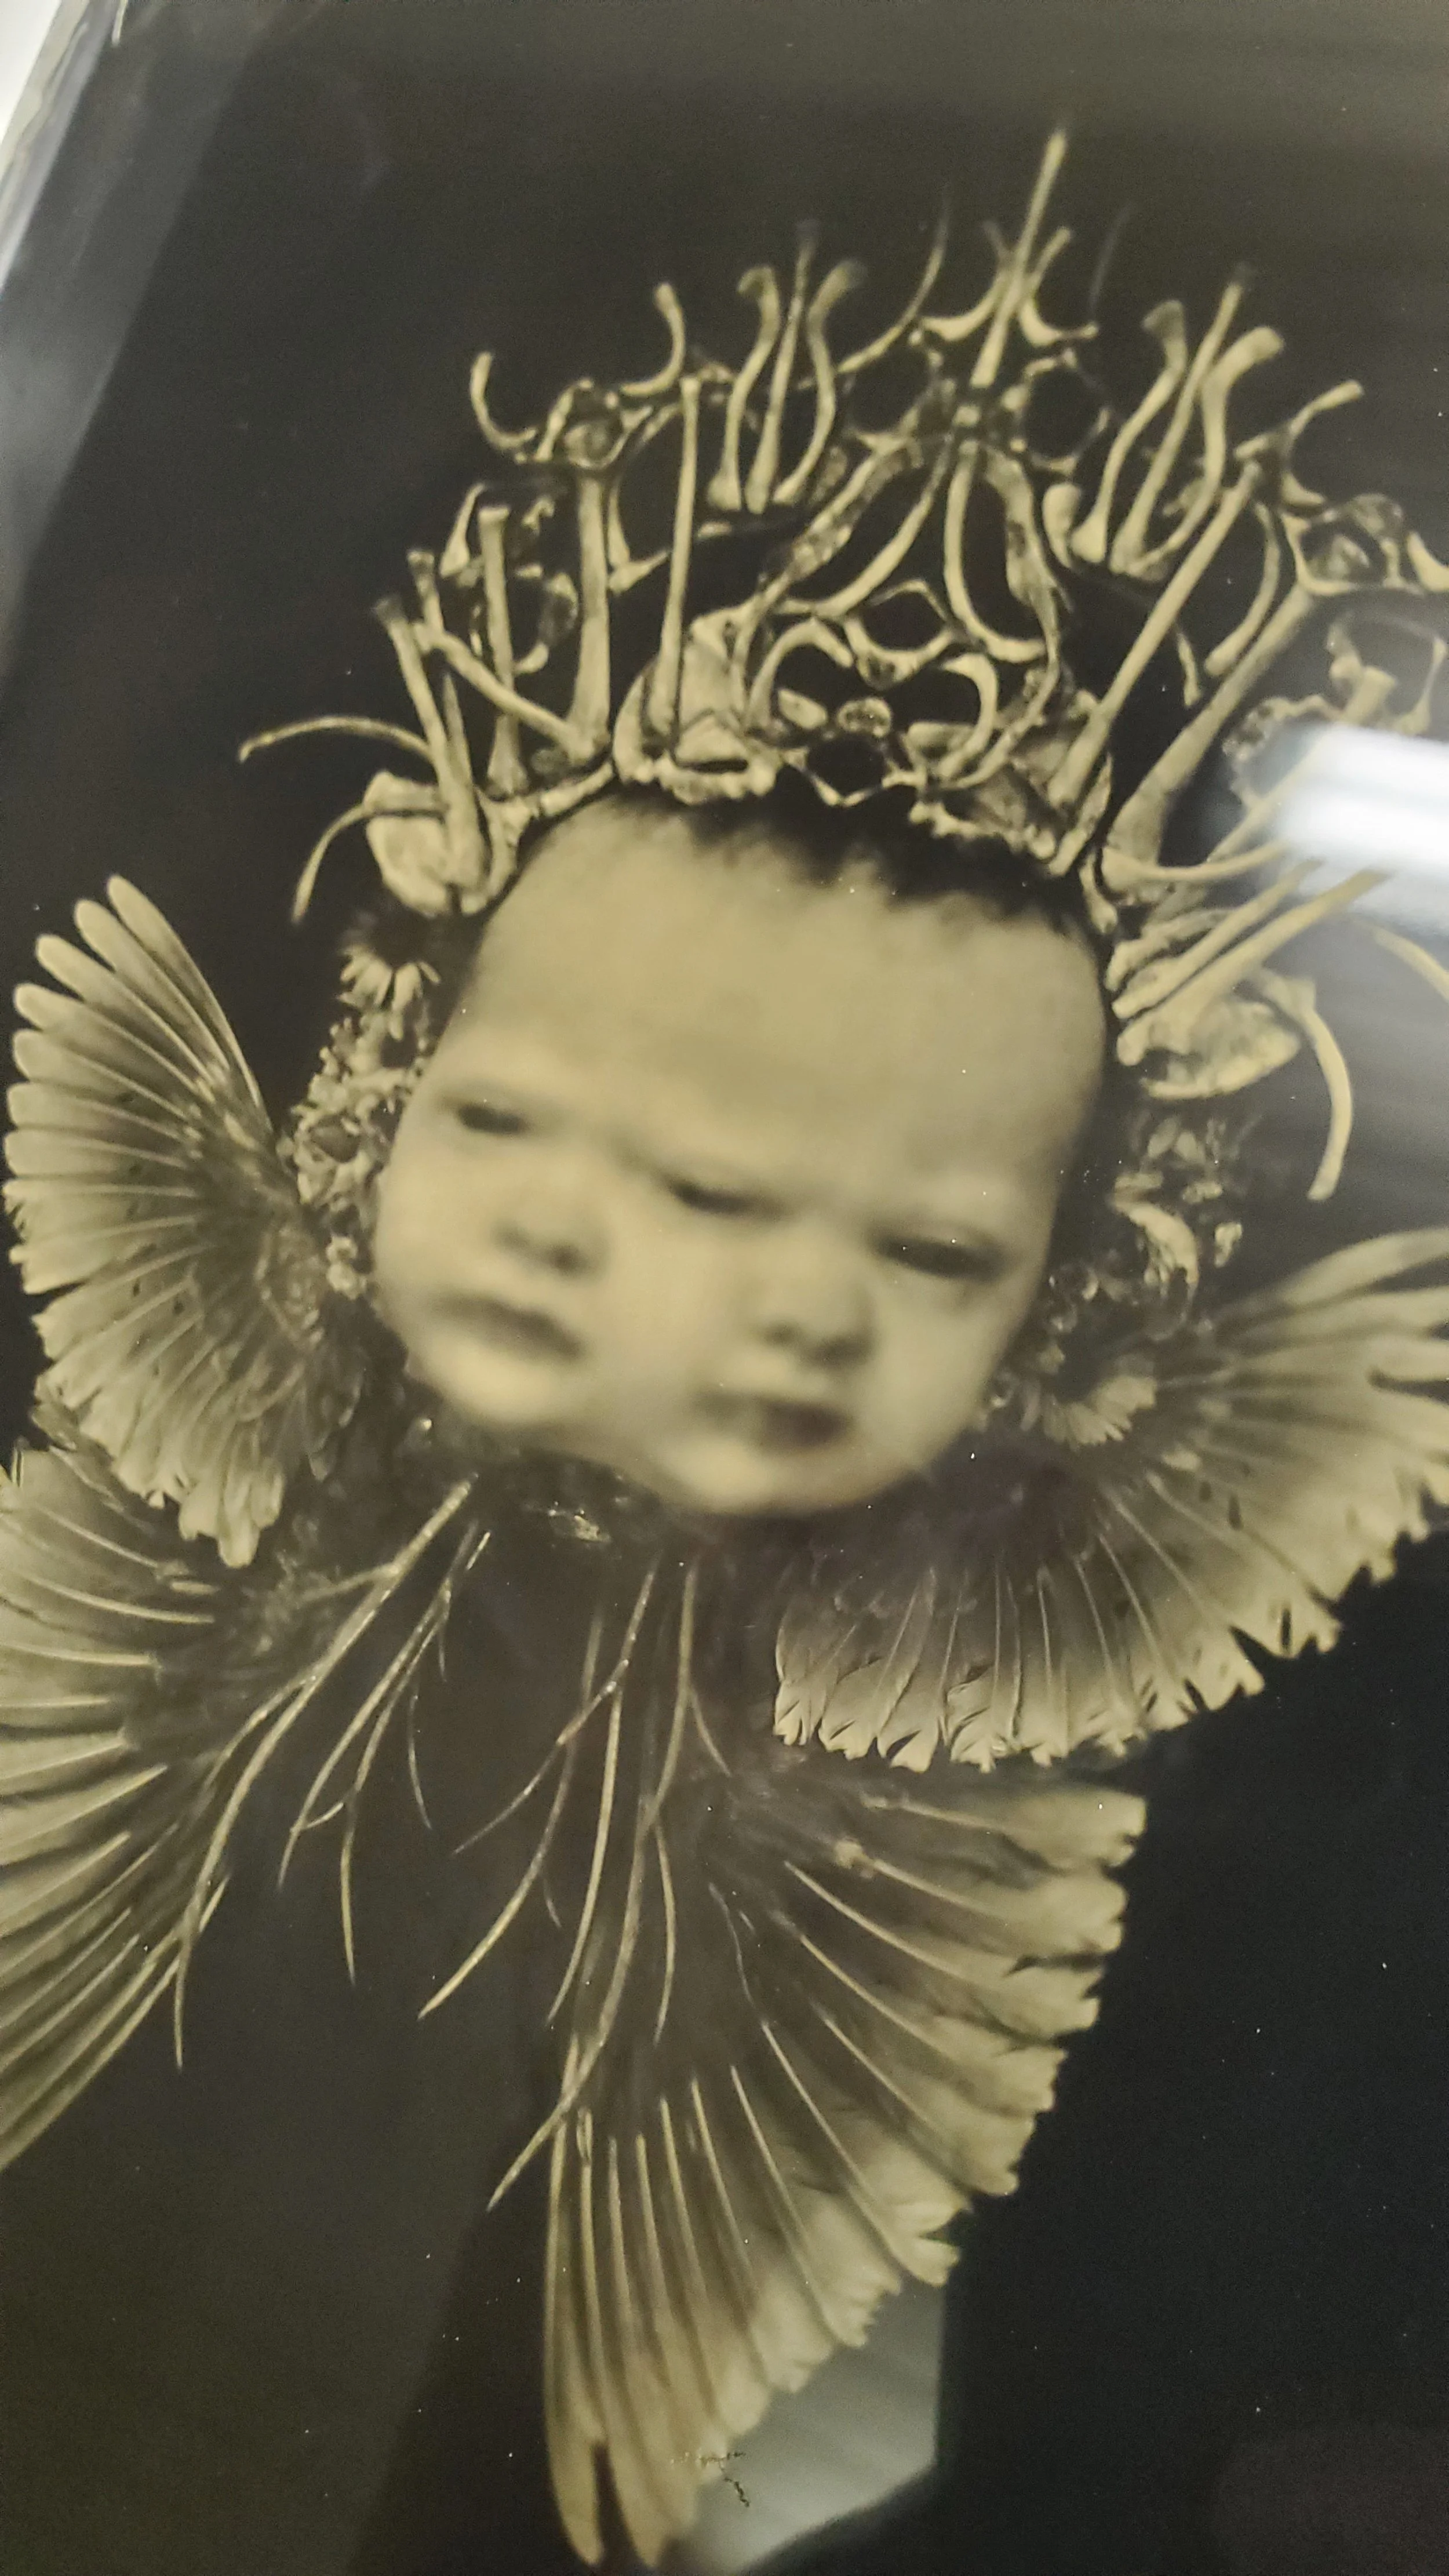
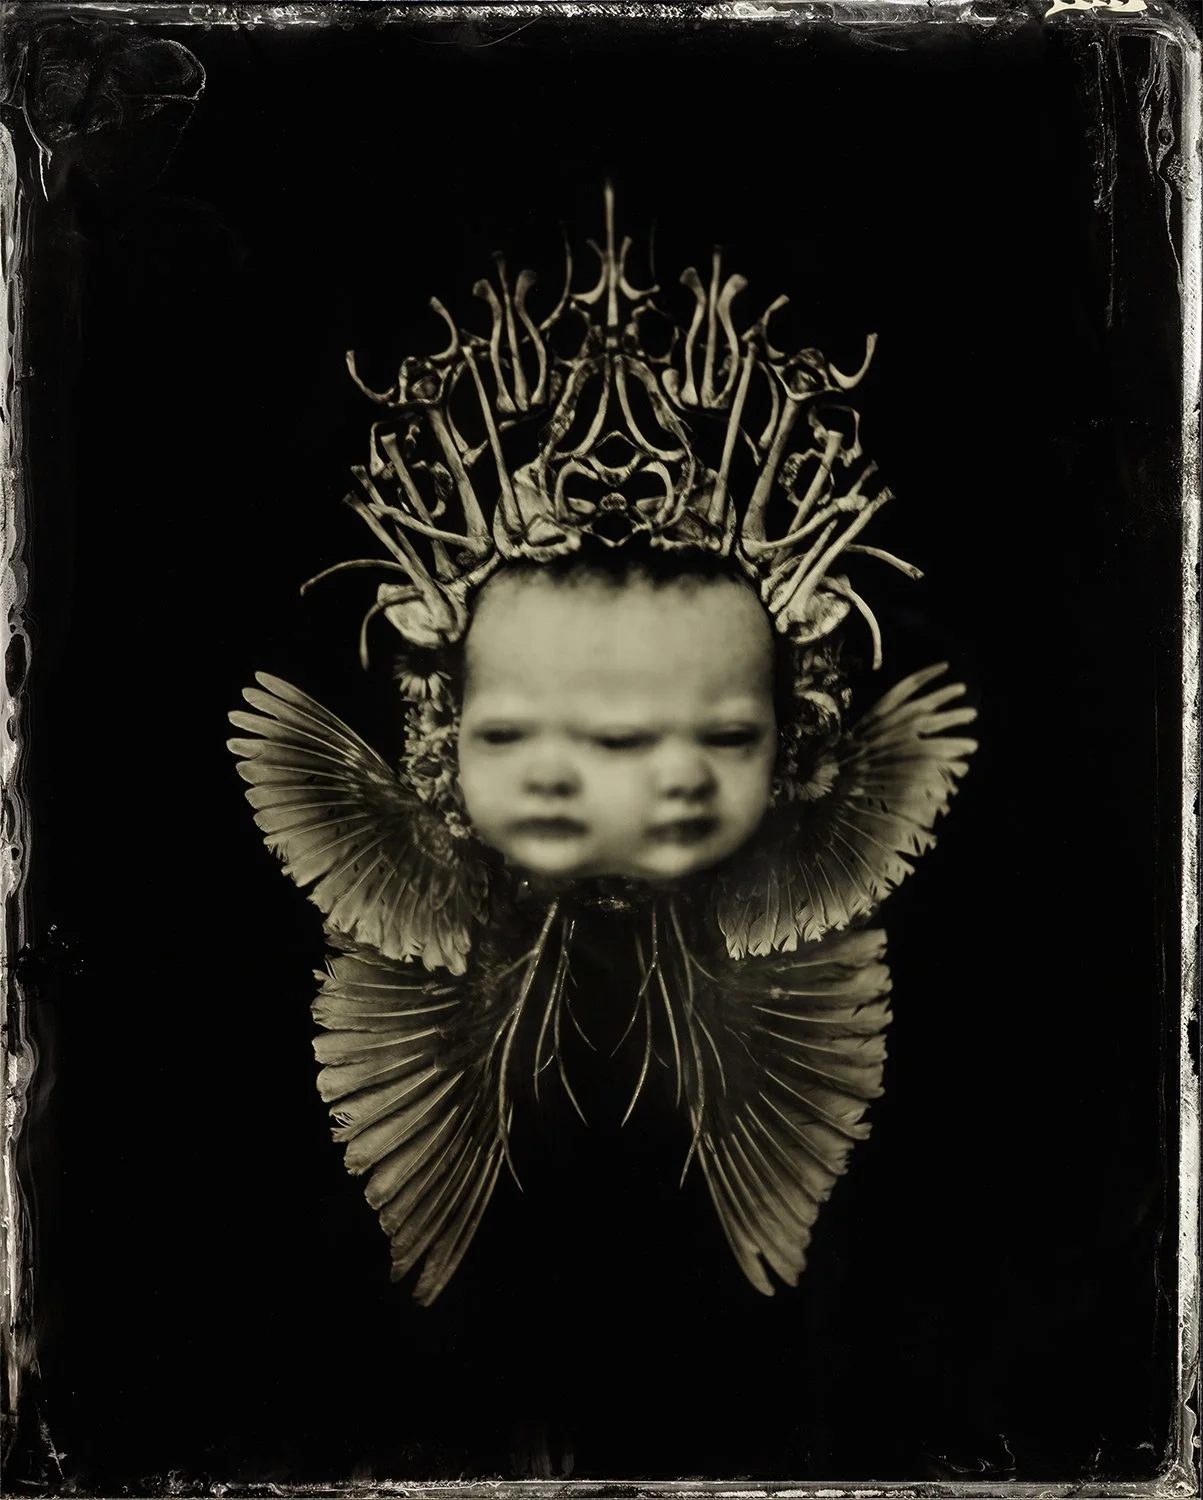
Crowned Diprosopus in Ascension
8×10 Tintype
2025